Planting, Mulching, Fertilizing and Watering
No point looking back. We put our hurricane losses in a burn pile and began our hunt for new camellias, buying some, air layering others from gardens — and finding new locations in our garden to create camellia beds. We were on a quest.
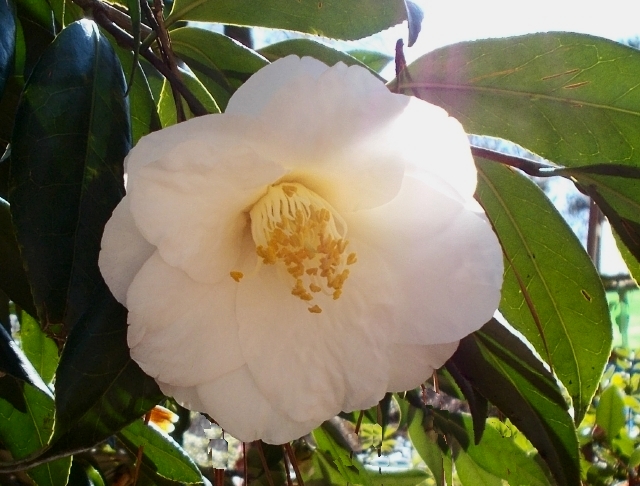
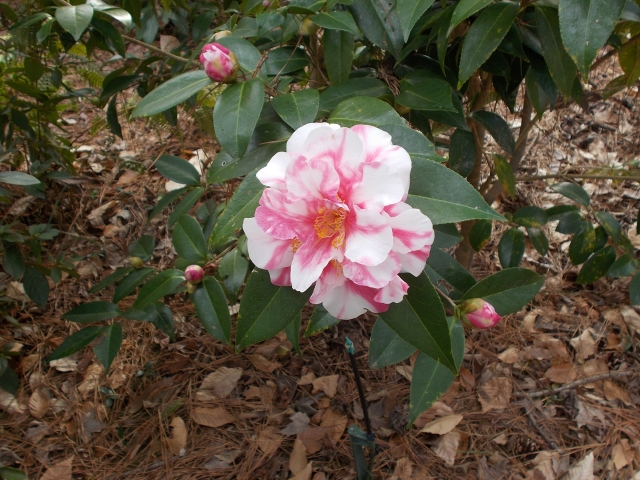
This lovely, unknown pale double reminds me of our lost ‘Magnoliaeflora ‘
We wanted no more losses to root rot. (see Root Rot Attacks our Camellias after Hurricane Isabel).
We scouted our garden for the highest and driest habitats, mostly untouched mixed woodlands near our property boundaries.
One of these was a designated sick bay for azaleas displaced by Hurricane Isabel. Why not leave the azaleas there permanently and add camellias to the mix?
New camellias found themselves buddying up with old azaleas. But this was not enough area for our ambitious plans.
So we opened up woodlands on the other side of the property, cleared a long path and began planting camellias on either side.

C. japonica ‘Matothiana’ an air layer from our daughter’s garden in 2010
We didn’t need to raise soil levels in these high-and-dry plots.
We simply dug wide shallow holes for each plant and backfilled with a combination of our native soil (clay) and compost, about 50-50 by volume. When planting was done, each camellia was mounded gently above ground level. (See Siting and Planting).
Not much chance for root rot here. We celebrated.
Maybe a little too soon. . .
Now we had quite the opposite problem. Large deciduous trees were sucking water from the soil and spreading their fibrous roots out to ten, fifteen, maybe twenty feet or more beyond their trunks.
Purchased after hurricane Isabel, C. japonica ‘April Dawn’ turned out to be two different plants growing in the same pot
Moist crumbly soil we created for fledgling plants became a free-for-all zone for opportunistic tree roots that muscled their way in to create a solid mat.
They were thugs! The little plants were foundering.
Truth is, in a battle between trees and shrubs, trees win. Not this time! Nosiree! Not with us as allies. We could stand up to trees (even if we weren’t sure quite what we should do except get out of their way when they were falling).
Once in a while we chopped through the mat and loosened the soil, but were we chopping the surface roots of these year-old air layers and sending them two steps backward? Were we stimulating growth of tree roots?

This camellia sasanqua puts out healthy growth despite a neighboring holly and sweet gum
True gardeners, insane, we remained wedded to our plans.
Mature oaks can claim large territories for their sole use, though maple, with shallow roots, poplar, and sweet gum, will extract their tolls in water and nutrients from soil. We had few oaks, and they were striplings, but we had other hardwoods among the pines.
Would we prevail against these thirsty trees that we’d never cut down? We soldiered on, at times with more pluck than brains.
We found that regular mulching helped, a mix of ground pine straw and leaves supplied by our trusty chipper-shredder. Wheelbarrow after wheelbarrow, we carted the ground leaves back to be laid carefully around each plant.
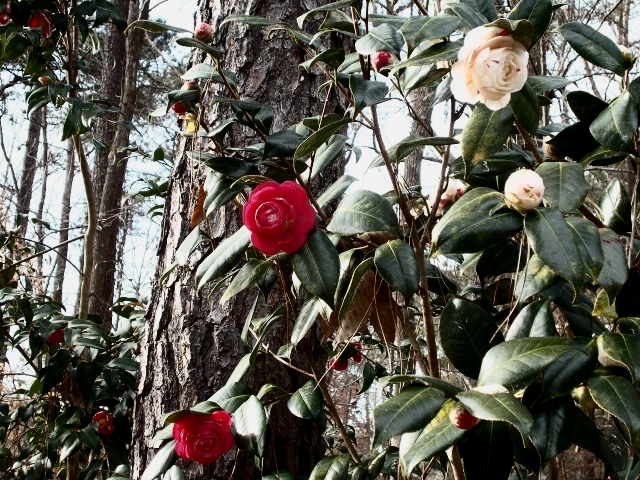
A couple of vintage camellias fronted by azaleas in our woods
What kind of dumb work was this?
One year we got savvy. Let’s skip the grinding, we said.
We tossed mounds, no, piles, great piles of unshredded leaves directly onto the beds, casually leveling them with rakes. We even wheedled piles out of our neighbor (not that she was particularly unwilling). In time, the piles settled into a respectable mulch.
Fall clean-up became child’s play. The cozy leaf blanket smothered any dreams future weeds might have of joining our camellias.
Such an easy way of keeping the soil cool, too, and preventing heavy rainfalls from saturating the ground. We also believe the leaves help to curtail disease. We have not had an outbreak of camellia flower blight since we’ve used leaves as mulch.
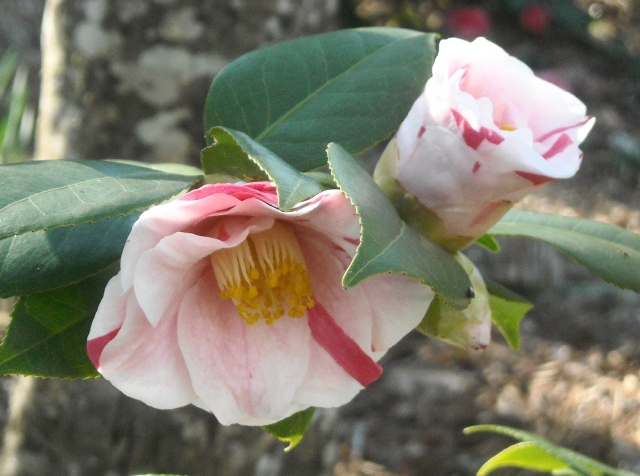
Our candy stripe camellia. No ID on this one yet. An air layer from Atlanta
Here’s the best part. Leaves decompose quickly into compost.
You can’t see it, but deep underneath, leaves are being eaten by tiny critters and crumbling and turning into soil.
Trees are finally giving back some of what they steal from our camellias.
We were taking a chance. Such deep layers of leaves could have smothered their roots, cut off their supply of air.
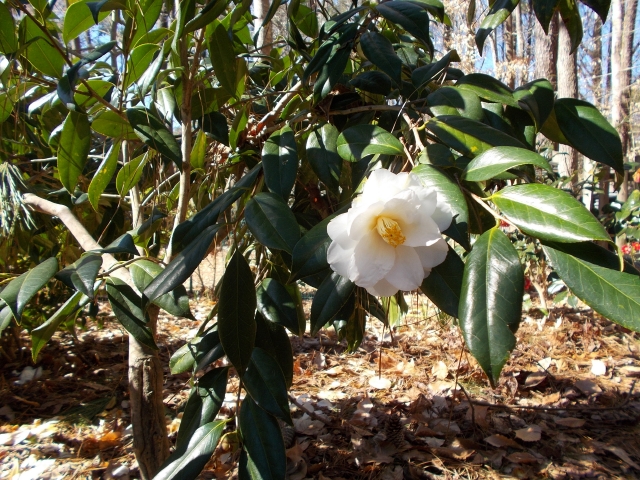
C. japonica ‘Imura,’ free-flowering shrub wih pure white double flowers and pendulous branches. Shape’s a bit unruly, needs judicious pruning, but we enjoy its exuberance
Camellia roots need air, and they often grow at the surface to get it.
That’s why soil for camellias must be porous and mulch must not be piled on. And here we were piling on the leaves.
So, were we killing our camellias with kindness? Apparently not. No plants seemed stressed.
Probably because dead leaves and pine needles are lightweight and not tightly packed. Bark mulch, on the other hand, should be limited to two to three inches, at most, to prevent smothering roots.
You can easily dig through leaf mulch, brush it aside. Air can penetrate. Despite our autumn exuberance, the mantle never gets any thicker. Must be all that crumbling underneath.
It was hard to do a reliable investigation. When we pushed back the leaves, there were so many roots we had no way of knowing whether camellia roots were willing, or unwilling, bedfellows. Conclusive evidence? Nothing hard, but the plants kept inching upward.
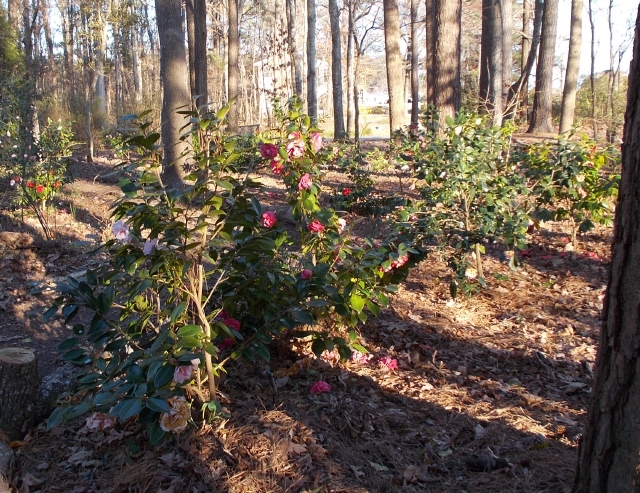
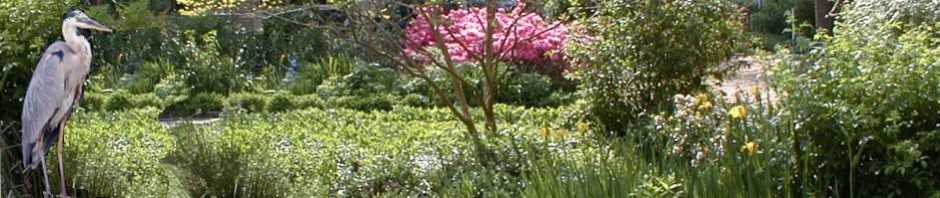
Late afternoon winter sun washes over the woodland beds a few years after planting
Managing the Beds
The large beds were easy to manage. Fertilizing and watering became efficient.
Faithfully, each spring Bob puts a cup or so of high nitrogen slow-release fertilizer (19-6-12) around each camellia on top of the leaf mulch.
This formula is similar to that used on camellias in the Norfolk Botanic Garden. We have also found that 14-14-14 standard slow release fertilizer works well.
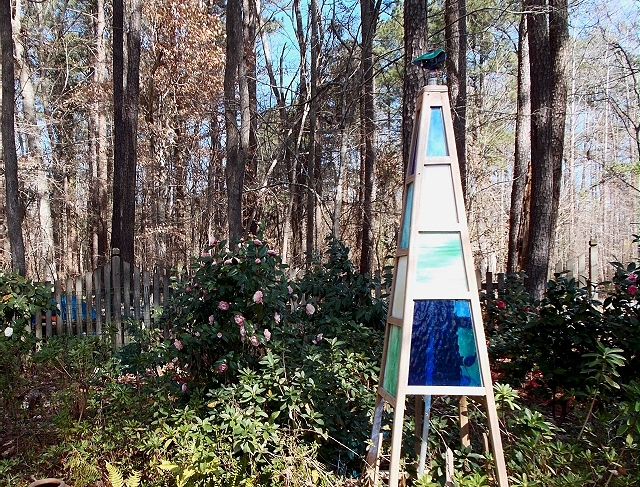
Note sprinkler atop tuteur which is a focal point and decorative accent in the bed
We water as needed, though less often than you would expect.
We installed the Mister Landscaper watering system from Lowes. It’s a do-it-yourself system that needs no special tools for installation. Each camellia has its own head on a tube coming from a hose threaded through the bed.
You have a choice of heads, quarter-circle, half-circle, full-circle. For a single camellia we use a quarter circle. Full- and half-circle heads put about the same amount of water down as a quarter-circle but over a larger area.
Risers are available, but for camellias (and hydrangeas), we usually keep the spray as close to the ground as possible. In fact, Bob makes many of the stakes we use out of pressure treated wood.
And, if you make a mistake or change your mind, or a squirrel chews a tube, fixes are easy.
A check-up in spring can turn up clogged heads, but a puff of air from somebody’s cheeks usually gets the water flowing again. If not, heads are cheap enough to replace.
Note the inconspicuous riser and blue head for watering; each camellia has its own installation, all of them connected by a master hose from one faucet
When it is especially droughty, we water with an overhead sprinkler.
Wet foliage can be an invitation to disease, but our camellias have coped so often with heavy dews and rainy nights that a sputter from a sprinkler is not going to put them into sickbay.
We tell them to pretend that overhead sprinkling is part of nature.
The good news. Rarely, if ever, do we water large, established camellias.
If you can be patient and let camellias settle in and age, they are truly drought tolerant and delightfully resistant to insects and diseases. They become old friends in the garden.
Growing? Or Thinking About Growing
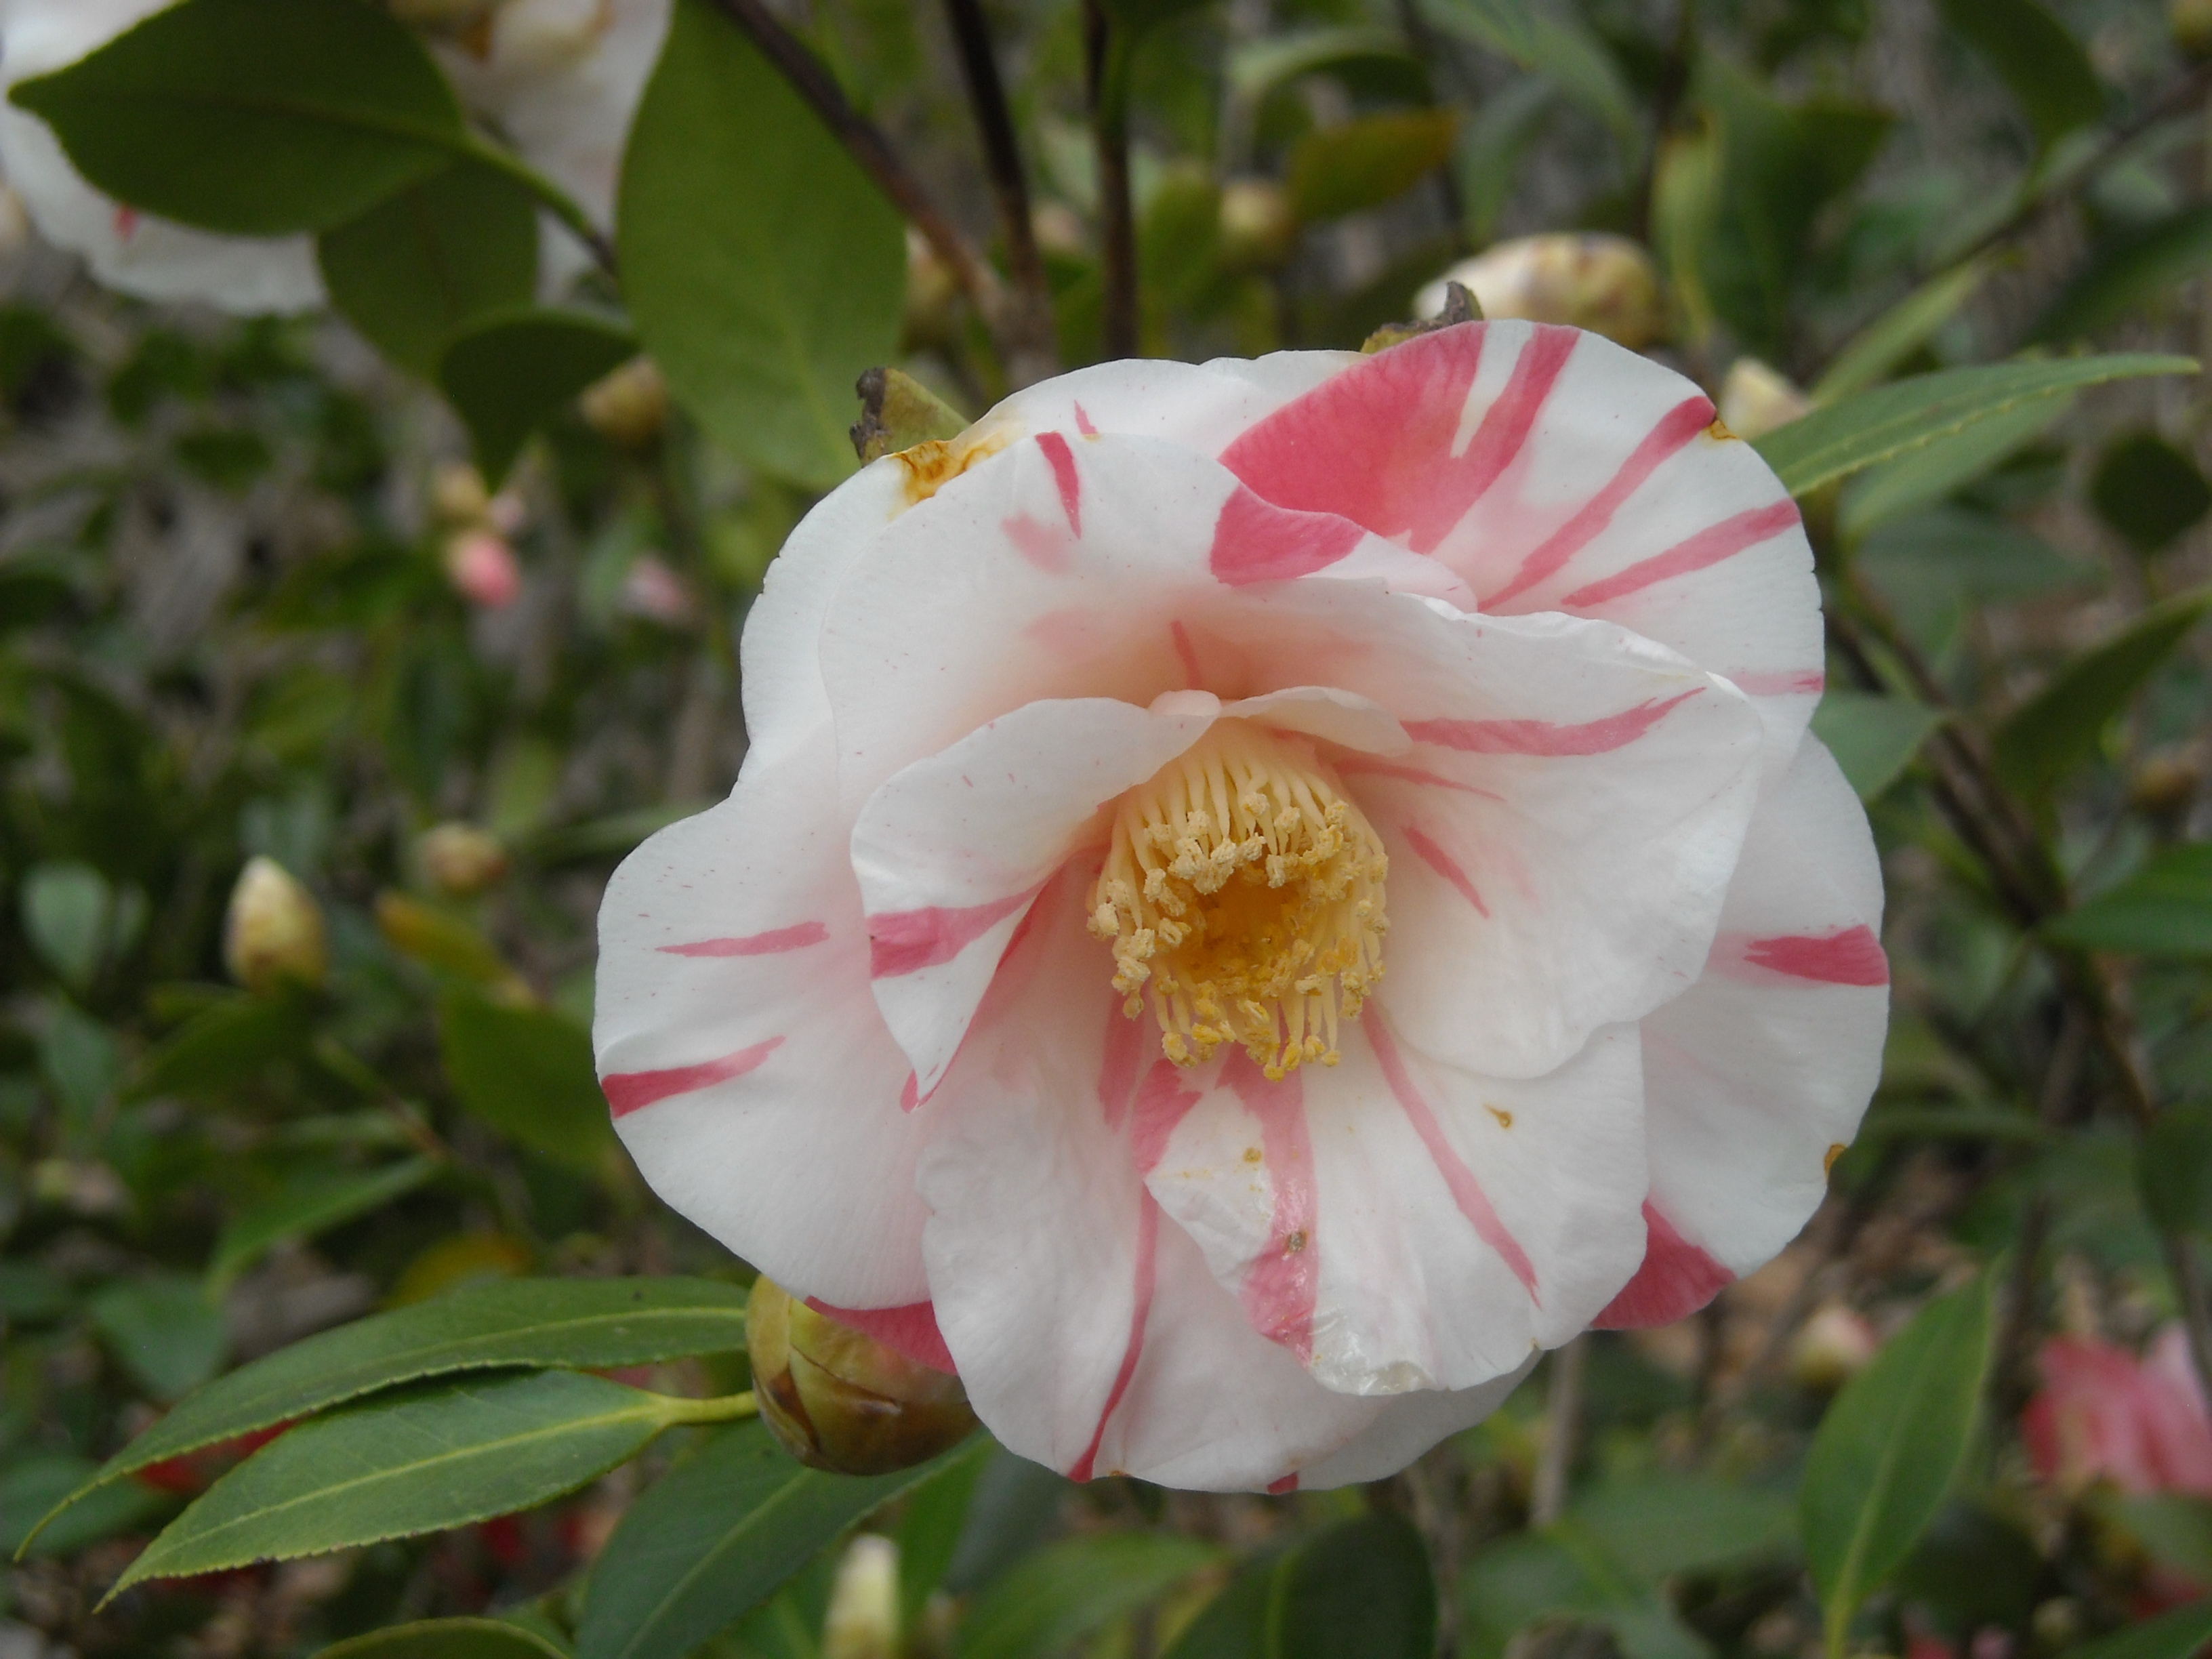
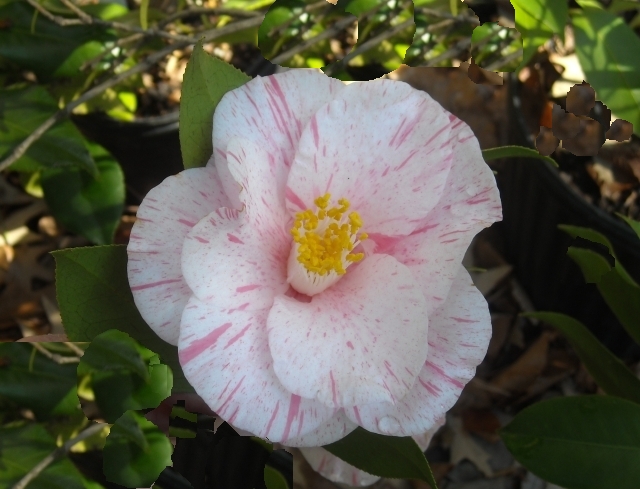
Stripes, stripes and more stripes, these on an unknown
But it is a test of patience and optimism.
Even in ideal conditions, camellias seem to spend a lot of time thinking about growing after they are planted.
Our small, year-old air layers competing with trees in their prime needed a good seven to ten years before they achieved stature and bulk and shine.
(Larger, well grown camellias from reputable nurseries will grow more quickly.)
A truce of sorts between camellias and big trees had apparently been negotiated, though we were not privy to the plant talk. We could only watch from above. Their blooms are brightening winter days for us and our neighbors.
Lovely and retiring, still unnamed
Occasionally, a plant has up and died. A couple have been eaten down by deer.
Two or three looked so sad we had to dig and pot them and confine them for rehab. Sometimes it took a couple of years before they recovered and could be replanted.
Sometimes they never recovered. But that can be part of growing camellias in a woodland garden.
It has been several years since we planted the woodland camellias. We are finally seeing the fruits of our labors. They are handsome plants with handsome blooms. Has the work been worth it? Yes. The future is an even longer time.
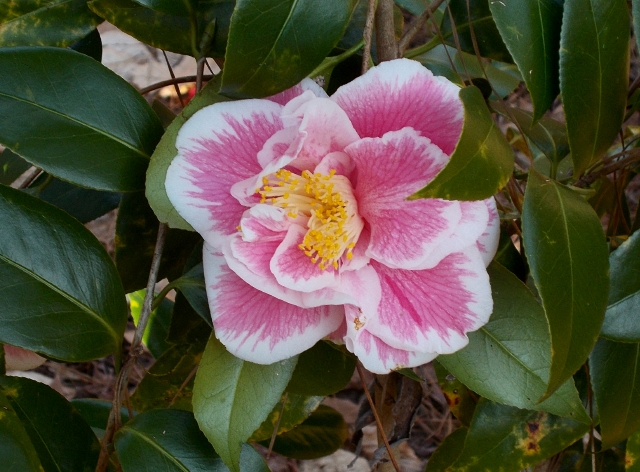
An air layer from a friend’s garden, C. japonica ‘Hermes’ has finally joined the winter cotillion in full dress
Camellias in our Garden Siting and Planting Camellias
Pruning and Fertilizing Camellias Insects and Diseases of Camellias
Camellias Become Collateral StormDamage Caring for Camellias in Woodlands
Air Layering Camellias Wildlife and Camellias
Choosing Camellias Landscaping with Camellias Companions for Camellias
