TLC for our Gang of Eight? Yes and No
If you’ve read about our Gang of Eight in Siting and Planting and seen their pictures, you know that we coddled them, even created a special raised bed for them. Gave them plenty of TLC. Lots of fun. Creating new gardens is always lots of work, but lots of fun, too. (Maintenance is less exciting.) Visions of great plants, great blooms danced in our heads.
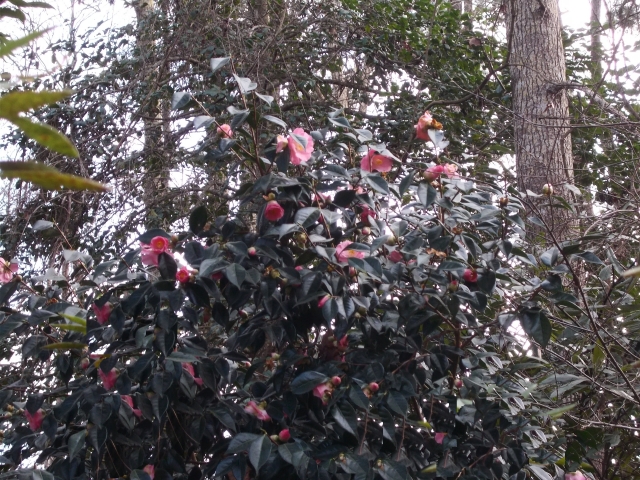
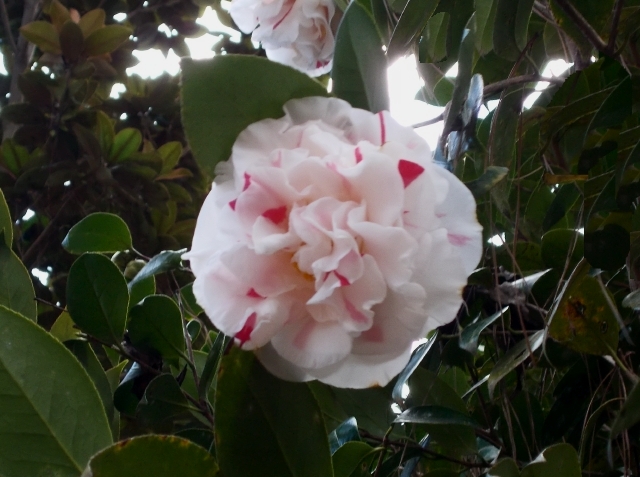
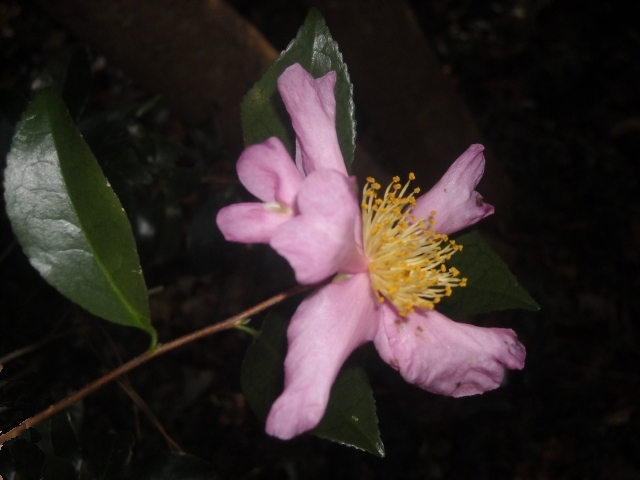
This lovely camellia, not one of the Gang, tag lost, has been a long-time resident of our garden
Watering
The first couple of years we watered regularly when rain didn’t accommodate.
No thirsty plants. Camellias might be drought tolerant but our Gang members were still youngsters.
No drowned plants either. We’d had enough of those in our swampy garden where crayfish thrived. (See Root Rot in Collateral Damage.)
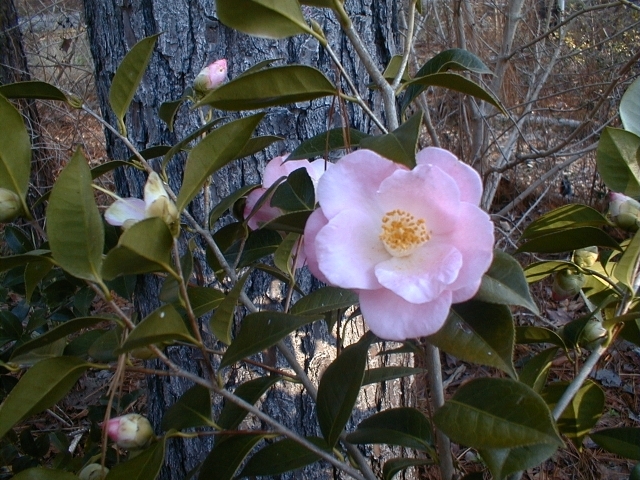
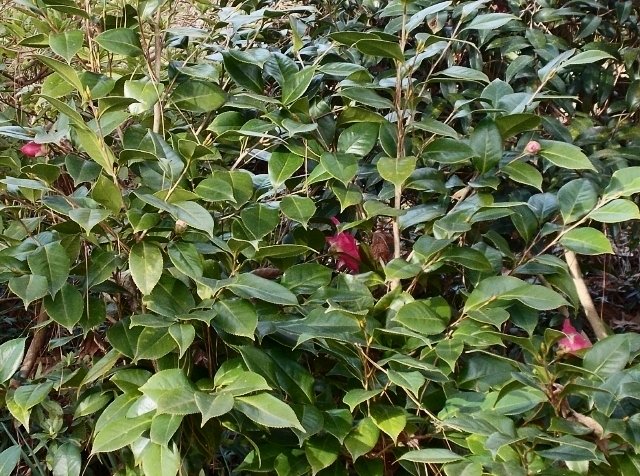
C. sasanqua ‘Jean May,’ an early acquisition, a sweet but robust fall bloomer. Sasanquas in general grow lankier than Japonicas and often need more shaping
The care during planting paid off. Bark mulch, when needed, helped composty soil stay moist long after garden soil dried to a rock. It also prevented soup bowls after rain.
We were beginning to understand what “moist but well drained” meant.
As years went by, we spent less and less time on TLC. The Gang was prospering and able to withstand, even welcome, some dryness. We watered occasionally, maybe twice a month during hot weather.
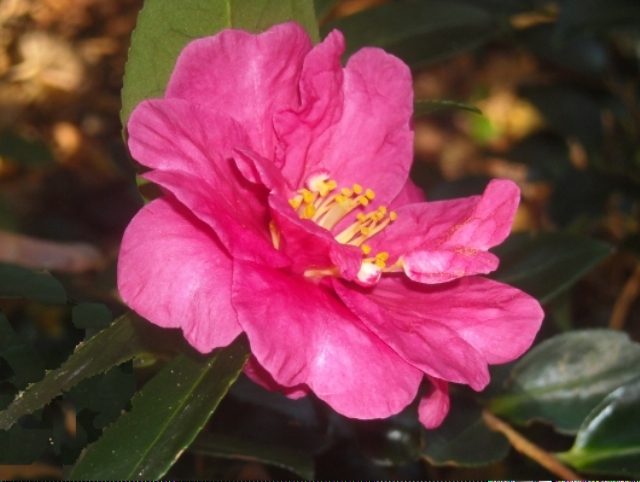
Bright and brassy, late-blooming C. japonica ‘Blood of China,’ has a checkered history in our garden but is managing to survive
Fertilizing and Mulching
Let’s just say our fertilizing style evolved.
The first couple of years we followed our usual garden regime of broadcasting by hand the “big three,” nitrogen, phosphorus and potassium, in the form of 8-8-8 fertilizer.
It was fast and effective. Decomposition of compost and mulch would add minor nutrients.
This Japonica camellia in a woodland setting is several years old but has only recently attained this fine stature
We used 8-8-8 instead of the standard 10-10-10 because we knew our broadcasting was imprecise. Chemical fertilizers can burn roots if too much is applied, or an accidental overdose occurs.
Measuring precise doses for each plant is time-consuming, an impossibility in our large garden, and our casual broadcasting generally worked well. The plants thrived on this diet until 8-8-8 was no longer available commercially.
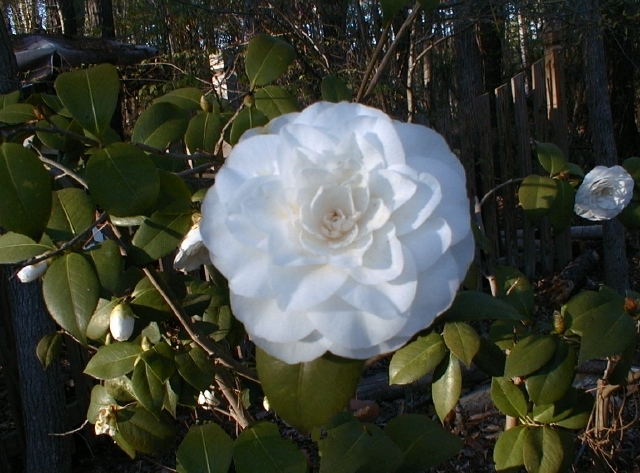
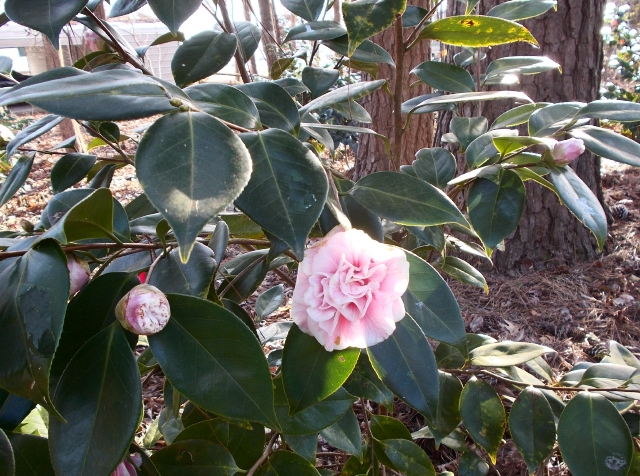
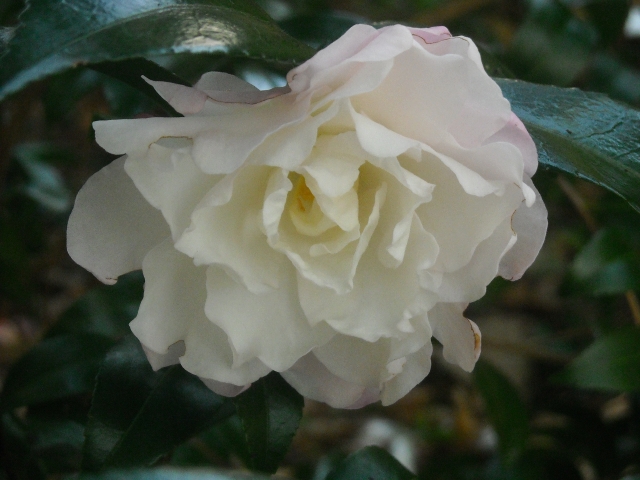
C. japonica ‘Nuccio’s Gem’ is a product of Nuccio’s Nuseries in California, fine growers of camellias
So we switched to Hollytone.
Hollytone is an organic fertilizer with a “big three” nutrient reading of 4-3-4.
No chance of burning plants, and its ingredients promote soil acidity, which camellias like, and it temporarily repels rabbits and deer. That’s a nice dividend.
(For a full discussion of soil acidity, check out Siting and Planting.)
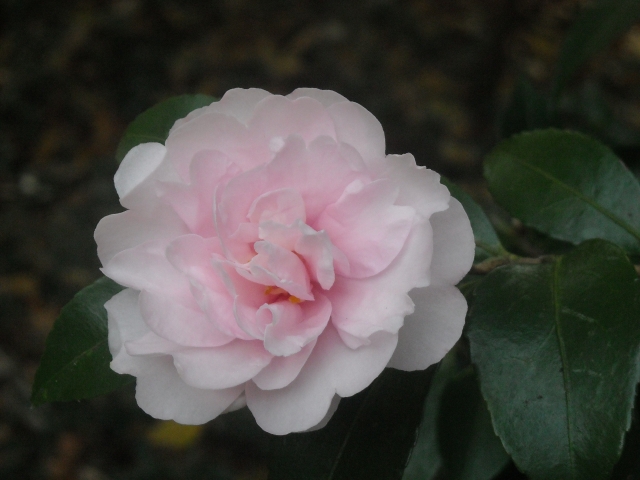
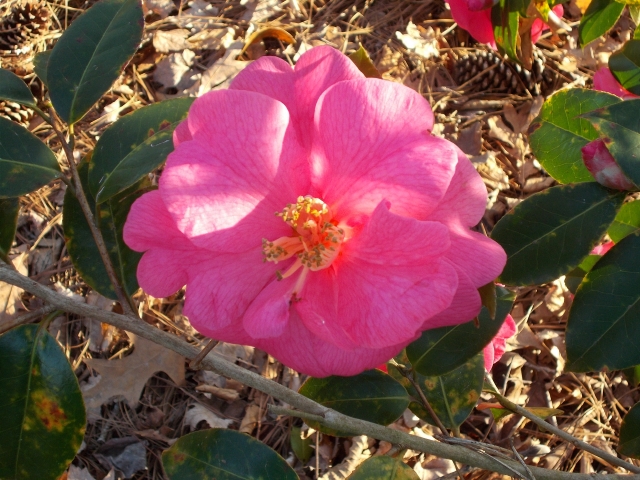
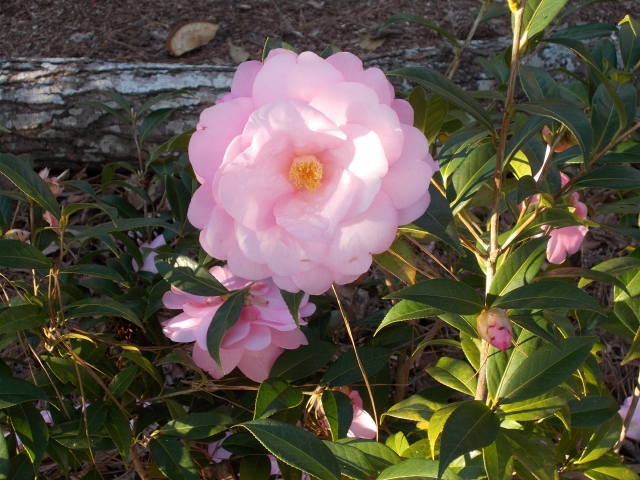
One of our favorites, a golden oldie, C. japonica ‘Berenice Boddy’ here shown with open growth but elsewhere growing thick and jungly
Now, 4-3-4 sounds like pretty weak stuff, but Hollytone also contains minor nutrients. Long-term, its potency is much more effective than, for instance, 10-10-10.
Like the Energizer Bunny, it goes on and on releasing nutrients. It works like compost. But it is expensive.
So we switched to mixing our own semi-organic “big-three” fertilizer: blood meal for nitrogen, bone meal or superphosphate for phosphorus, and potassium sulfate for potassium. We had to do all sorts of calculations and ratios to get a balanced blend and had to be sure and mix ingredients thoroughly.
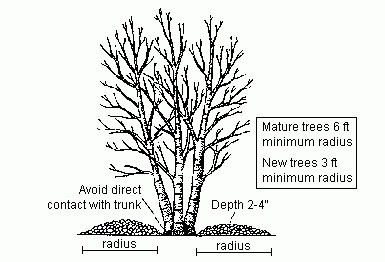
Birch tree pictured but techniques are the same for mulching a camellia (USDA Forest Service)
The idea for this approach came from Mel Bartholomew’s book, Square Foot Gardening. For a good while we successfully used our concocted formula throughout the garden. Lots of measuring and mixing, though.
Eventually we settled on 14-14-14 slow-release fertilizer applied around each camellia once a year using a cup borrowed from a box of laundry detergent.
When we found out the Norfolk Botanical Garden was broadcasting 19-6-12 slow-release around their camellias, we switched yet again, though we continued to use our laundry cup. (Plants in the rest of the garden got 10-10-10 and did just fine.)
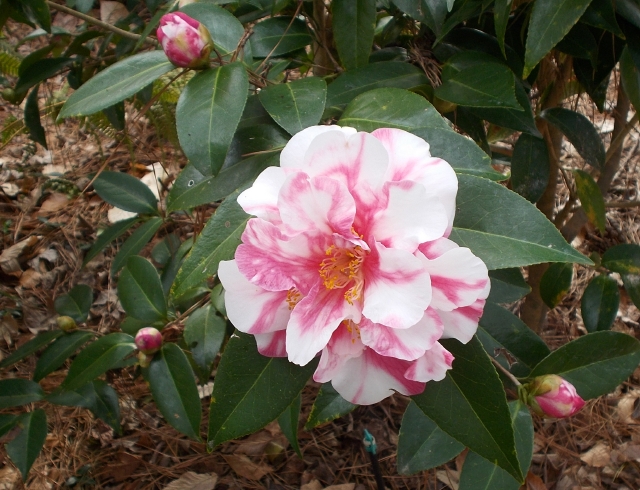
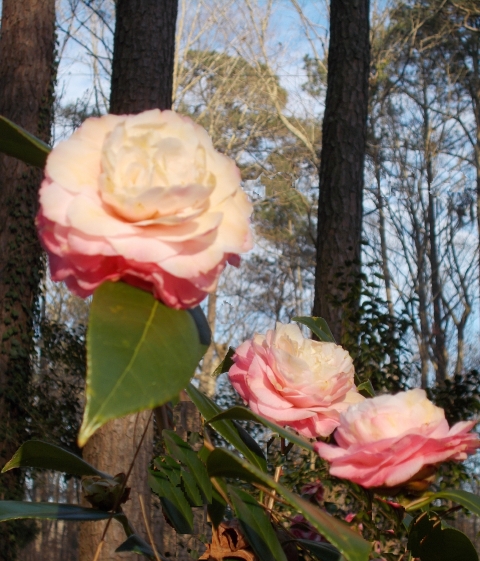
An early purchase, C. japonica ‘Betty Sheffield’ began shakily but is a large, 12-foot tall shrub whose blossom variegation is always a surprise
Some growers fertilize three times a year: after spring bloom, in early summer, and finally in late fall, in divided doses. The fall dose has high phosphorus and potassium to promote root growth and bloom and low nitrogen to curb leaf growth.
We decided early on that our Gang didn’t need that much TLC. One fertilization in spring was enough.
What we learned: No matter what technique or combinations we used, our plants responded well. They had begun life in good organic soil and a good location. Decomposition from compost and pine bark mulch continuously added nutrients. Giving plants a good start, we found, was key to growing healthy camellias. Today, we often do not fertilize older camellias.
Tucked amid pine trees, these camellias got away from us, grew leggy, now need pruning and shaping
You just can’t hurry a camellia. They grow slowly the first few years, so we look for shiny leaves and fat flower buds to determine plant happiness.
One day we realized our Gang had exploded. They were still juveniles, but they were growing into imposing, handsome plants with elegant blooms.
We dropped our routine of renewing bark mulch every year or two and let the ever-present, ever-falling pine needles take over as mulch. They do not decompose quickly, so their contribution to soil renewal is stingy, but they help to conserve water and control weeds, and that is just fine. We wanted less work.
C. japonica ‘Lavender Prince,’ an air layer we took off an established plant at the Norfolk Botanical Garden
Gardener’s Aside: When we used bark mulch, we didn’t pile it on, kept it to maybe two inches to let camellias “breathe.” We also took care to keep mulch away from the trunks of the plant. Moisture in the mulch can cause disease in trunks.
At times, we noticed camellia roots at soil surface. Should we give them extra water? No, we were told, they were seeking air/oxygen. They were not telling us they were thirsty. In fact, it can be the other way round.
An airy, open camellia, vintage unknown, not needing much pruning
They may have been telling us they were too wet, for instance during a rainy season, and not getting enough oxygen from the soil.
That mucky swampy clay was always lurking below their feet. A heavy burden of mulch would not help.
Pruning
Not much to prune the first couple of years, but as the Gang grew up we got the pruners out.
Probably the densest camellia we own, C. sasanqua ‘Buttons and Bows.’ Note the rich green leaves that would indicate lack of pests and diseases despite limited air circulation
Mostly we thinned interior branches and cut out the weak or dead, inward-growing, crossing, and drooping branches that touched the ground.
A long time ago, a Japanese grower said it best: “Prune so the wings of a dove can fly through the branches.”
I don’t think we ever thinned quite that much, but that vision of space and air stayed with us.
In fact, thinning is done to discourage diseases and insects (to quote the books) and, critically, to get at the interior of a plant to treat foliage when necessary (see Insects and Diseases).

This schematic gives an idea of what a shrub should look like after thinning. A dove could almost fly through. Diagram from the Internet
Once plants gained some stature, we began to prune for plant-appeal. This type of pruning takes longer and usually needs two people, one to stand back and point, the other to do the pruning.
Typically, outliers are taken down summarily. Branches growing in unwanted directions are pruned back and over-all shaping/trimming is done for beauty. Camellias next to paths are pruned to maintain passage, which often requires limbing up.
We lost our C. japonica ‘Taylor’s Pink,’ a camellia most beloved by gardeners and now hard to find. We settled for ‘Taylor’s Perfection.’ A good substitute, don’t you think? Note nodding face down blossom, frustrating for a photographer. Nodding blossoms are often the most perfect.
All this we try to do after blooming but before we spot new growth (a narrow window indeed which we do not always hit). But never later than early summer, when new flower buds begin to develop.
Fortunately, every camellia does not need work every year, so plants can be pruned on an as-needed basis.
We can’t kid you, we aren’t always on top of things, so some camellias get out of hand, especially those planted as young air layers. We are more anxious to see air layers grow, than to cut them back.
C. japonica ‘Simeon,’ a giant in our yard was a slow starter but is now a reliable source of air layers that help keep the plant’s height under control
But when some of our camellias grew up tall and looked like Lumpy and Bushy (this seemed to happen over night), we got cracking.
We like to grow camellias as small trees, so we gradually, as the plant gains height, remove lower branches and shape tops as needed. Trunks of older camellias have a sculptural quality that can add elegance to a garden.
Gardener’s Aside: It makes sense to allow a naturally large, robust plant to grow to its potential, instead of hacking away to keep it in bounds.
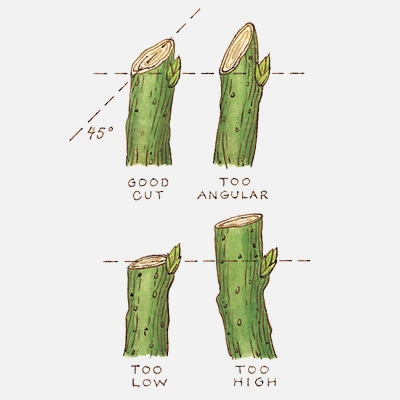
Follow the same rules for pruning camellias as you would any other shrub. Make clean cuts with a sharp pruner, cut at the proper angle, and don’t leave nubs. Fairview Garden Center diagram
Pruning severely can also limit the number of flowers the following year because fewer stems are available for blooms.
Unfortunately, we don’t always know how vigorous a grower we are purchasing, since camellia size can vary depending on growing conditions and genetic makeup.
But severe pruning can be done and plants recover well. One spring we watched overgrown camellias being taken down from about twelve feet to six feetf and shaped proportionately at the Norfolk Botanical Garden. We learned not to be afraid of pruning hard.
Ideally, however, to keep a bush looking good you should not ignore it for years and then go after it with a happy lopper. Size and shape a plant every few years, after bloom but before bud set in summer.
But if you forget or change your mind, or storm or disease wreaks havoc, it’s nice to know you can prune hard, really hard, nasty hard in spring, then fertilize and let the plant grow and resume its proper role in your garden. This usually takes a couple of years.
One tough plant, C. sasanqua “Cleopatra.’ We have three in our garden, two from air layers, all limbed up along paths as small trees
One year, an azalea fungus blighted a Camellia sasanqua ‘Cleopatra.’ I did not have the time to pull off the affected leaves, so I cut the plant to the ground and assumed it was a goner.
Within a couple of years the plant was growing happily off its strong and well developed roots.
Even if the top dies off, there is always hope the plant will come back from the roots, so we leave it for a year or so.
The Story of One Indomitable Lady
Here I must tell the tale of a knock-out, drop-dead beauty. Lady Clare. She was vigorous and exceedingly healthy. She was itching to explode with new growth. No, we said, you will outgrow your welcome in this bed if we let you go. We kept pruning her back to about five feet.
C. japonica ‘Lady Clare’ is rated as an enduring favorite among camellia growers
Nearby, a willow oak sprouted from a wandering seed into a full-blown Jack’s beanstalk. The young tree was shading her benevolently, like a feathery parasol. What luck, we said.
But willow oaks in damp soil are unstoppable, even when expansive decks get in their way.
So we had to cut down the parasol and move the Lady. She went to a bed where we decided she would look better with her knees showing, so we limbed her up.
Such a comedown for the great Lady. We had cut the life out of her. Between the pruning that had cut off her top and the pruning that had left her bottom naked, she was left with a skimpy knot of leaves. She did not grow after this treatment. You could say she was sulking except Lady Clare was not that kind of a camellia. Pruning aside, she probably didn’t like her toes mired in the mud she’d been consigned to.
A couple of years later we found a more suitable spot for her, one where passersby would be sure to remark on her beauty. It was a good year for rain so we didn’t worry about regular watering. That Lady was tough. She would survive.
Two months later we saw her dying. We inconsiderate Choppers and Diggers could do nothing for her now except wait. We left her on her own.
Six months later she had grown two stems, one from the ground and one at the base of her trunk, with a total of eight healthy, vigorous, shiny, drop-dead gorgeous leaves. You just can’t keep a good Lady down.
Would we ever again pull any stunts like that? I hope not.
Not among our Gang of Eight, but another longstanding Nuccio’s Nurseries introduction ‘Nuccio’s Pearl,’ in a woodland setting
Back to our Gang of Eight. As we’ve said, we lavished care on them when they were young, and they rewarded us with bloom for six months each year.
They happily endured hot droughty summers, and frosty winters. All the care they needed took only minutes out of a gardening year.
A sprinkling of fertilizer, occasional pruning, and a wellness check for diseases and pests were minor chores. Pleasant ones, as we could spend time admiring the plants and their blooms.
There came a time when pests would discover our lovely grove, but even then, routing pests was not especially time-consuming.
(See Diseases and Pests of Camellias for details.)
We can say with authority that camellias are among the easiest plants to care for in our garden, and they give back so much. It has taken us longer to write up what we do than to actually do it.
All ruffles and flounces, like a Victorian lady, C. sasanqua ‘Autumn Delight’
Camellias in our Garden Siting and Planting Camellias
Pruning and Fertilizing our Camellias Insects and Diseases of Camellias
Camellias Become Collateral Storm Damage Camellia Recovery and Care
Air Layering Camellias Wildlife and Camellias
Choosing Camellias Landscaping with Camellias Companions for Camellias

What a helpful resource! I’m ready to give over half my garden to camelias. Thank you.