Where and How We Planted our Gang of Eight
(For the beginning of our story, see our introductory page and photos, Camellias in our Garden.)
Before we brought our Gang of Eight home from the Virginia Camellia Society sale, enthusiastic and knowledgeable Society members told us what camellias liked.
Perfect drainage.
Organic soil on the acid side.
Mulch.
Shelter from winds.
Protection from sun.
Conscientious watering during the first year.
In this entry we will try to give you suggestions for planting techniques that will lead to healthy, long-lived camellias.
Location Location Location
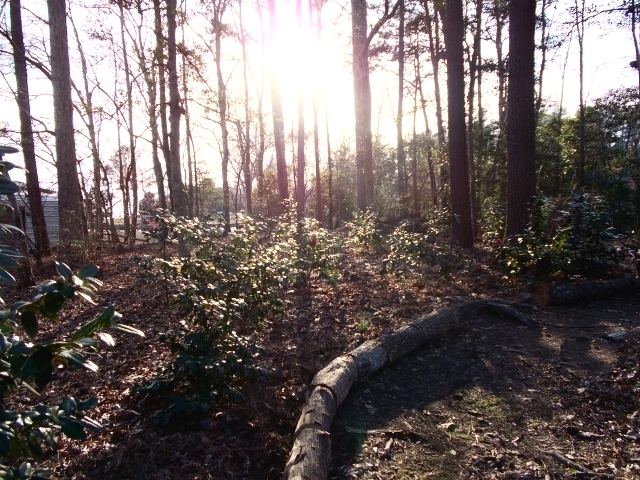
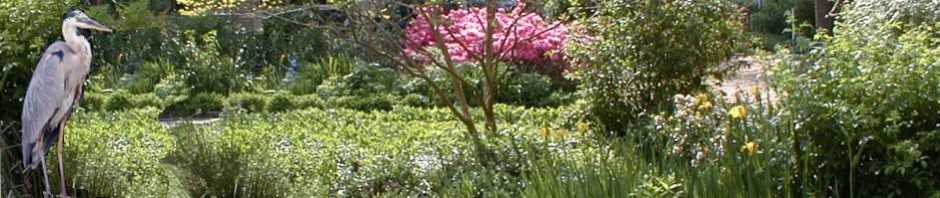
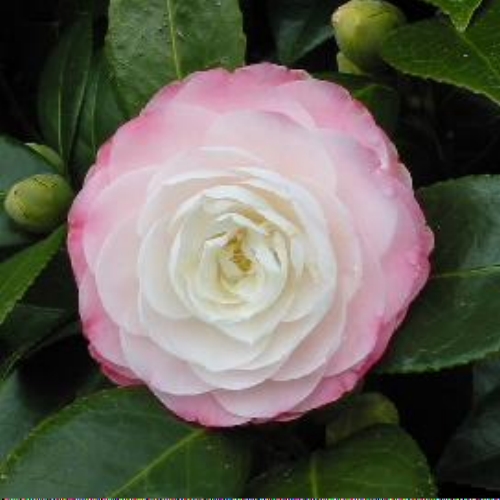
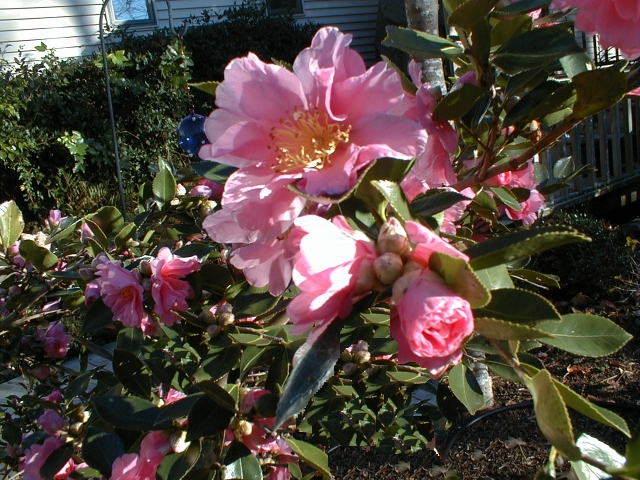
Our woodland camellias in a winter sun about to set
Tall pines form a benign upper story for camellias. Their thinly clad branches filter sunlight, cast dappled shade.
Perfect for Japonicas whose leaves turn sickly green or sickly yellow in full sun, an ugly distraction from fresh spring blooms.
Sasanquas are less finicky. They can tolerate a healthy dose of sunlight, and some bloom best in almost full sun, so there is more latitude in choosing a site for them.
Pine-tree roots, too, are kind to camellias. They grow deep, so they do not compete with camellias’ surface roots for water and nutrients.
Something else to consider. Pine needles create a fine mulch for camellias. About a third of the needles on a pine fall each year and become ready-made bedding. There is a timing and a rhythm to needle-fall, though it seems constant to us, and camellias manage to catch the spikey brown wands that anchor themselves on boughs.
To remove them, the tidy gardener must shake the plants vigorously, or pick them off by hand. Since our camellias are in wooded groves, we ignore the vagrants until the plants come into bloom, at which time the needles become a sore distraction and we take action.
Siting camellias under deciduous trees is also possible, but growth can be slowed and bloom reduced. Branches heavy with leaves cast deep shade, and surface tree roots spread out in lean soil, seeking — and homing in on — the amended soil in camellia plantings. Young camellias must compete with mats of roots from large trees that siphon water and nutrients from the soil. Oaks and maples are particularly ravenous.
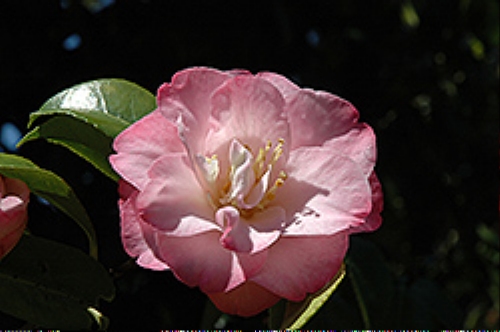
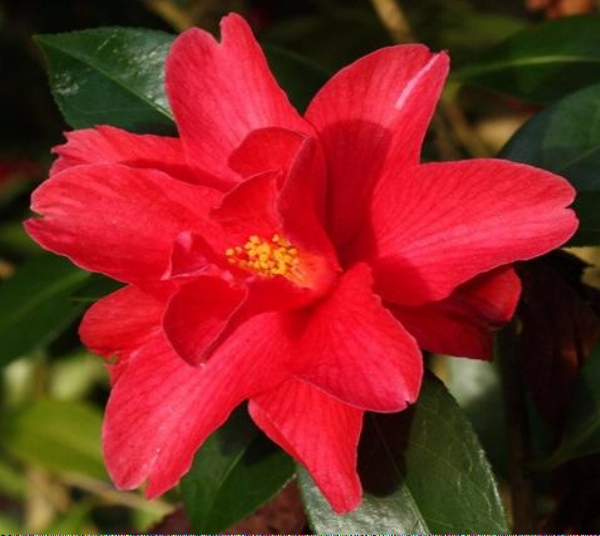
One of our Gang of Eight, C. japonica ‘Dr. Tinsley.’ Web photo
The north side of a house can be a fine location, as long as some sunlight slips in and exhaust from a heat exchanger is not blowing a desert wind.
Eastern exposures with morning sun are excellent in summer. But they are tough on camellias in winter if they are not protected by pines or other evergreens.
After a night of freezes, a fireball of a sun can blast the leaves and turn them brown before they recover from the cold. It can take a season to repair the damage. The plant may have to be cut back severely
Our first camellias, that Gang of Eight, had it all. A fine western exposure sheltered from hot noonday sunlight by a strategic mix of pines and hardwoods that shielded them from winter winds.
Planting Time
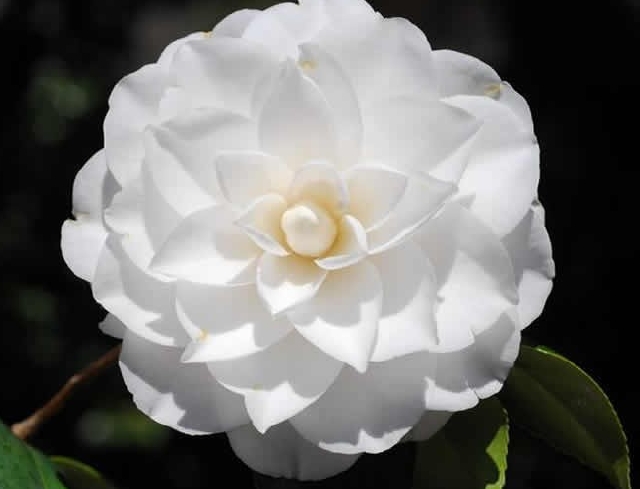
Another of the Gang, C. japonica ‘White by the Gate’
We planted our Gang of Eight in fall, around October. It’s the best season for planting in our southern garden because soil is not yet soggy from winter rains but still warm enough to promote root growth.
Plants have a good long time to settle in during cool seasons before the heat of summer.
In northern climates, where winters are capricious and summers are cooler, spring planting seems to be safer.
Soil and Drainage
Our woodland garden gave freely of shade and shelter. But soil and drainage? Plant roots would either drown or rot if we dug holes in our clay soil.
The verdict: No holes. A decision that cheered Master-Digger Master-Builder Bob to no end, at least temporarily.
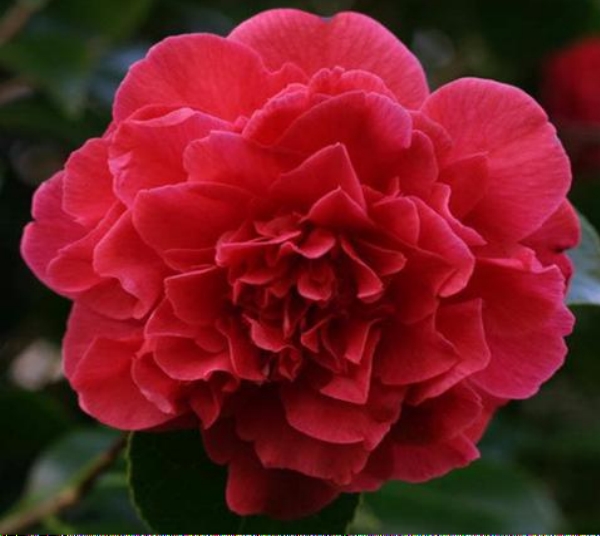
Third in our rogue’s gallery, C. japonica ‘Kramer’s Supreme’
Long before raised beds became popular in gardens, we created raised beds for planting — out of necessity, not creativity.
Instead of digging, we brought in several truckloads of coarse potting soil purchased from a local distributor.
It was a grand combination of composted crumbly pine bark, with lesser amounts of sand, perlite, and vermiculite.
We shoveled, o my, how we shoveled, to create a bed atop the clay. (In the long run, shoveling was probably more work than digging eight holes.)

An example of composted pine bark which blends readily into potting soil. Web photo
Composted pine bark is a fine soil amendment, but uncomposted pine bark is best used as a mulch. Its large nuggets are too coarse to incorporate into soil, and they tend to deplete soil of nitrogen as they decompose.
On the other hand, as a mulch, their slow decomposition will add nutrients gradually and help restore soil.
Note: Peat moss can be another villain in a planting bed. It is suspected of suffocating plant roots and causing root rot when it decomposes.)
Into our special mixture, we incorporated many handfuls of crumbled clay, a real-soil addition to our raised bed.
(First Gardener’s Aside: Years ago we gardened in “beach” sand. At least that’s what a little boy who visited with pail and shovel called it. In these conditions, it’s especially important to add lots of compost/organic matter/potting soil to beds. More than you think you will need.
These amendments hold moisture and nutrients that would otherwise leach out of coarse, fast-draining sand. As decomposition begins, a slow but steady stream of nutrients will nourish plants, and soil texture will begin to improve. End of First Gardener’s Aside.)
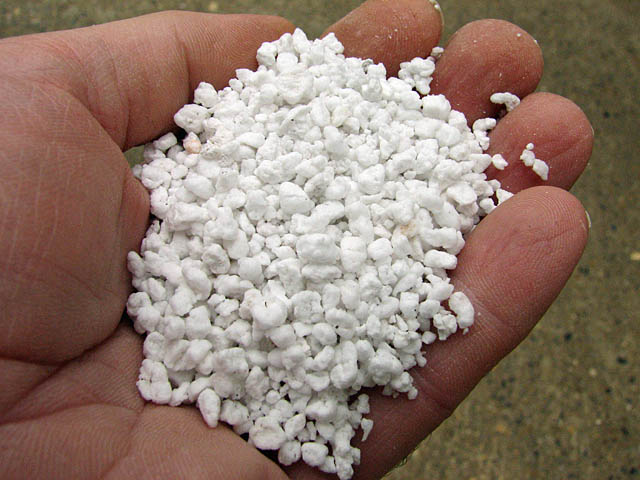
We can no longer find potting soil with composted pine bark so we add a reasonable, seat-of-the-pants quantity of coarse perlite to potting soil. We buy Hoffman’s 14-quart bags. Web photo
We waited several days before planting to allow this crumbly, friable soil mixture to settle. New plants would be less likely to sink and collect water around their roots.
(Second Gardener’s Aside: We also plant camellias and other plants directly in the ground. We dig wide and very shallow holes, maybe only half the depth of the rootball.
Once the plant is placed, we back-fill around it with a combination of soil and compost to create a mound. This will prevent water from pooling around the plant.
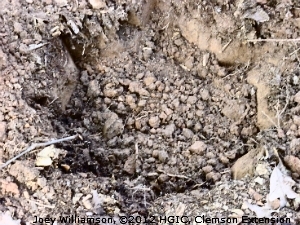
Notice the irregular edges in this hand-dug hole. If sides are notched, fine roots can find their way into nooks and crannies that give space to spread out. Photo by Joey Williamson, Clemson U Extension
We adopted this technique after digging many lovely holes that we back-filled with fine, loose potting soil.
In rainy weather the lovely holes became lovely soup bowls because drainage was non-existent. You can test your drainage quite simply by digging a hole, filling it with water and letting it drain. Then refill the hole and watch the drainage. The hole should empty in a matter of hours.
Planting advice now says to add about 20 per cent organic mixture to 80 per cent native soil by volume. (Eyeball the two piles before mixing.)
Our ratio is more like half native and half organic in the hope that we can break up the clay whose claim to fame is its ability to be molded into earthenware pots.
The bottom of the hole should be solid, undisturbed soil that will not compress and cause the plant to sink, thus reprising that frustrating soup-bowl syndrome that gives plants eternally wet feet. End of Second Gardener’s Aside.)
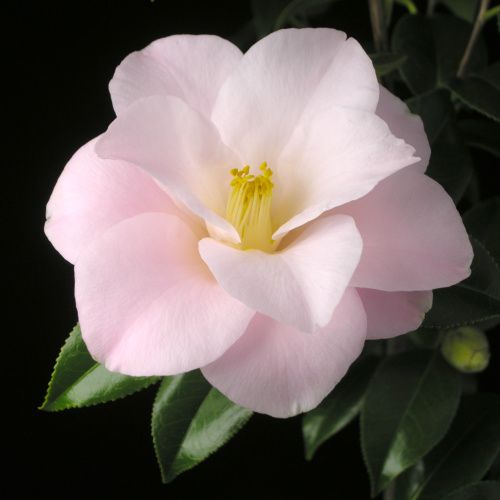
My personal favorite, the delicate C. japonica ‘Magnoliaeflora’. I have never been able to find another. Web photo
We wondered if raising the level of soil would give grief to the original owners of the bed — a large loblolly pine and a proud male holly with a handsome cone shape.
Happily, they seemed to relish the garnish and did not chafe at the unexpected rise in soil level.
Their roots moderated moisture in the soil after heavy rains.
Our camellias seemed to have everything they needed to grow. And grow they did. We would not know how important those trees were to our Gang of Eight until several years later.
Soil and pH
Soil tests from the NC Department of Agriculture told us our soil was neutral, a surprise to us because we had so many pine trees on the property. We later learned that clay soil with high magnesium and calcium levels tends to be neutral, despite a constant fall of pine needles. Over time, adding organic amendments and mulching will acidify upper soil layers.
It’s worth noting that most young plants, even camellias and other acid-loving plants, make their best growth in neutral (7.0 pH) soil. As seasons roll by, and pine needles and leaves fall and mulch decomposes, soil will reach a level of acidity (about 5.5 to 6.5 pH) that will satisfy the needs of camellias as they age.
We settled for what we had. We could have put down annual applications of flowers of sulfur to promote acidity. We did not because we had bought unlimed, naturally acidic potting soil directly from the manufacturer/distributor. We also counted on gradual decomposition of mulch to increase soil acidity.
Small and sweet, C. japonica ‘Little Ginger’ blooms profusely today on a replacement plant
Fortunately, there was no masonry or concrete near our new bed that could leach lime into it. Such leaching can mean slow death for camellias.
Eventually, camellias and other acid-loving plants like rhododendrons fail to thrive in soils that become alkaline from masonry leaching. Unless you understand this pH connection, their poor health and yellow leaves remain a mystery.
(Third Gardener’s Aside: One product, aluminum sulphate, is often added to soil around hydrangeas to lower pH and provide aluminum to promote blue blooms.
Aluminum sulphate is a weak substitute for sulfur, and large quantities are needed to achieve results.
We’ve tried this trick with hydrangeas and were not impressed, especially in light of our labor and costs. Mostly our plants did what they wanted. Besides, we don’t know enough chemistry to calculate cumulative effects on soil of broadcasting aluminum sulphate around plants. End of Third Gardener’s Aside.)
Inspecting Roots
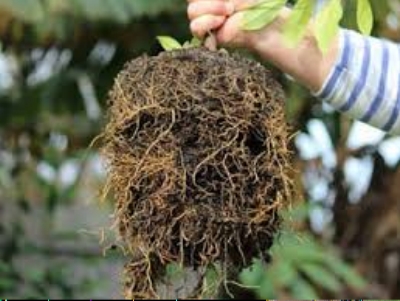
Before we did any planting, we inverted the pots and inspected root balls.
This is not a camellia, but don’t those packed roots look familiar? Only severe chopping (I use an old carving knife) will help this plant. Web photo
The Virginia Camellia Society sells camellias from a reputable nursery, where the plants are all well grown, with healthy roots out to the edge of the root ball.
They were not pot bound. There would be no tugging and tearing at roots welded into a brick before planting.
Healthy roots are critical for long-term success. Inspecting them prior to purchase gives you a sense of root quality.
You can do this yourself or ask the nurseryman to do it for you.
Bob does this faithfully. I do not because I am usually so enamored of a plant I want to buy that I do not want any bad news.
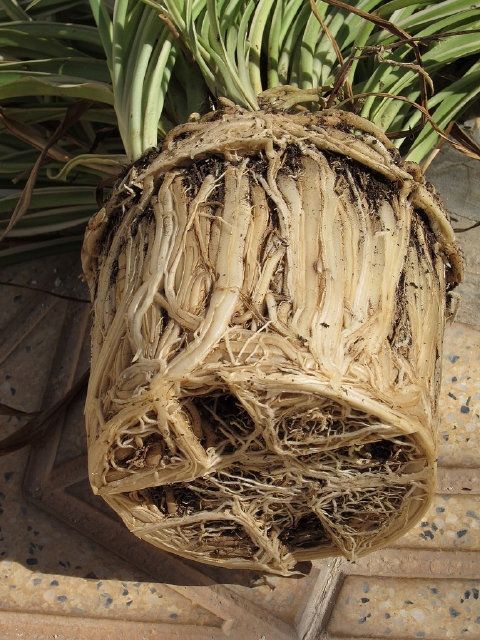
Potbound Plants
Roots girdling a plant are undetected until a plant dies and is removed. Web photo
So I bury my head in the sand and then I am sorry. Pot-bound plants are severely handicapped.
Survival is compromised. Fully 80 percent of roots are already dead. Those still alive may be trapped in the center of the pot.
Treatment calls for massive doses of tough love.
Many times I’ve had to cut deep into root balls with a sharp knife and tear apart roots and drastically prune dark dead roots so space opens up for new roots to emerge. New roots are often the plant’s only hope of survival.
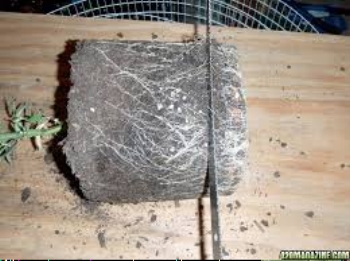
If roots are matted at the bottom of the pot they can be cut as shown. Web photo
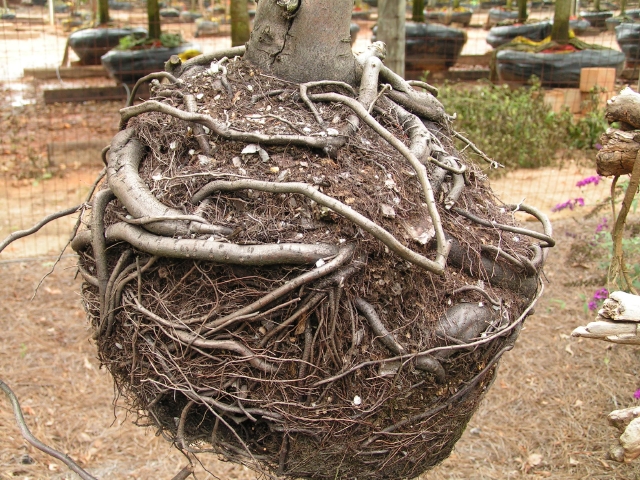
Bob and I particularly check for older, woody twisted or curling roots. These are summarily clipped unless they can be straightened (usually not).
If left unchecked, such ill-grown roots, unseen, can prevent healthy roots from spreading naturally.
In severe cases, the plant either dies or limps along for years, a puzzle in the garden because there seems to be no reason for its failure to thrive.
Sadly, years of great expectations become years of disappointments.
A healthy plant (not a camellia) ready for planting, roots teased lightly and hanging loose. Web photo
If roots need major surgery, the top of the plant should be pruned back and flower buds removed to balance for losses to roots.
After drastic surgery, we usually do not put a plant directly in the ground (though sometimes we’ve direct-planted torn-apart plants and they’ve done very well). Like so much of gardening, it’s a judgment call.
If we think a plant is too weak, we pot it in potting soil (not garden soil) with added perlite and keep it in a cool, shady sick bay until we see strong, healthy growth — and nice roots. This can take a year or more.
Finally, We Plant
Our plants were not potbound. We only had to tease the roots gently with our fingers to loosen the root ball and pull young, wayward roots to vertical. Teasing and moderate pruning can actually stimulate root growth.

C. japonica ‘Anticipation,’ a plant that is difficult to find today as new varieties offered on the market supplant older, heirloom plants
Since we were planting our camellias in a raised bed which had been allowed to settle, planting was easy. We nestled the plants into the mixture, about six to eight feet apart.
They looked lost, isolated. We reminded ourselves we would have to be patient. (In fact, after decades, mature camellias would require even more space than we gave our Gang of Eight.)
We firmed and watered our plants, and mulched them with about three inches of pine bark, careful to keep the mulch away from the base of the plant.
The slow decomposition of pine bark mulch would continue to create an organic, woodland soil that camellias like so much. Later, pine needles that fell naturally on the bed, would take the place of bark mulch.
Bright and simple, C. japonica ‘Freedom Bell’ has a semi-double flower
We did not fertilize our Gang of Eight when we planted them. We would wait till spring, since time-release fertilizer had been incorporated into their root balls. (See our entry on Pruning and Fertilizing for more information.)
A low hedge of dwarf pittosporum fronted the camellias. The native male holly stood sentinel. When the sun shone on these plants, their leaves glowed, handsome, rich and green.
And we were proud of our work. We thought it would be a forever planting, but great changes were to come to our garden, and these first camellias would come to resent the changes. Unfortunately, we never took pictures of that original planting. Nor did we photograph the lovely blooms.
One of our Gang of Eight, the only sasanqua of the group. It survives today after 25 years of storms, floods and freezes. Our C. sasanqua ‘Shoa no Sakae’, is low-growing (about five feet) and spreading. We’ve limbed it upto reveal sculptural trunks and give it an Oriental feel
Camellias in our Garden Siting and Planting Camellias
Pruning and Fertilizing our Camellias Insects and Diseases of Camellias
Camellias Become Collateral Storm Damage Camellia Recovery and Care
Air Layering Camellias Wildlife and Camellias
Choosing Camellias Landscaping with Camellias Companions for Camellias
