The Magic of Air Layering
Oriental gardeners have been propagating camellias by a technique called air layering since ancient times. For us, this is truly a mystifying process.
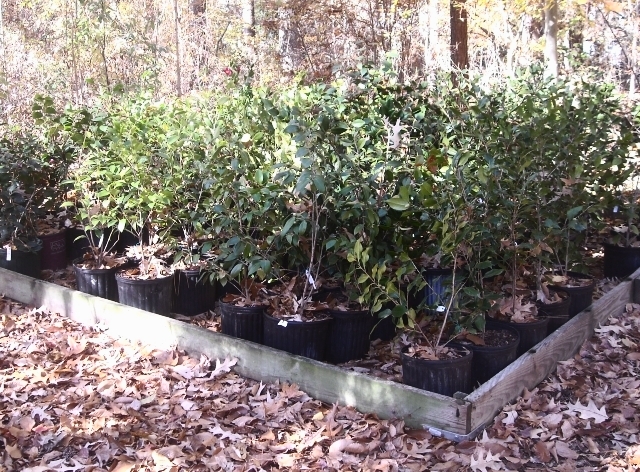
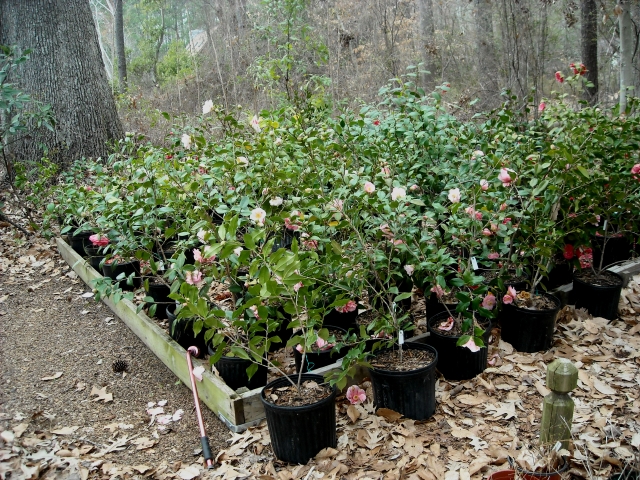
Atlanta air layers potted in fall, huddled in a winter frame. A mulch of dry leaves has gently fallen onto the pots, adding a layer of protection
During spring 2010 we put almost 100 air layers on about 20 aged but neglected heirloom plants growing in the garden around our daughter’s newly purchased home in Atlanta.
What satisfaction to remove air layers the following fall and find bundles of fine white roots that held the promise of new life.
We attributed such grand success to the health of these old plants that had not been coddled in years but were growing in good soil and ideal conditions.
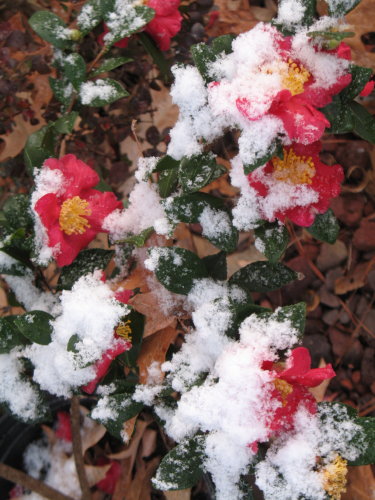
“From your yard to ours. ‘Yuletide’ has brightened our yard with true holiday beauty and cheer!” Dec 2010 photo and thank you note from the Campbells
Several years ago we learned the techniques of air layering at the Norfolk Botanical Garden during workshops held by the Virginia Camellia Society.
We volunteered there for many years, air layering branches of old heirloom plants in spring and removing the air layers for potting in fall. The Society would then sell the new plants to support Garden operations.
We’ve also been invited into gardens of friends to air layer plants we liked. Generously, our friends allowed us to plant these new (to us) camellias in our garden.
Rarely did we know the names of either these or the Atlanta plants, but it didn’t matter. They have become success stories in our garden.
Preparing the Air Layers
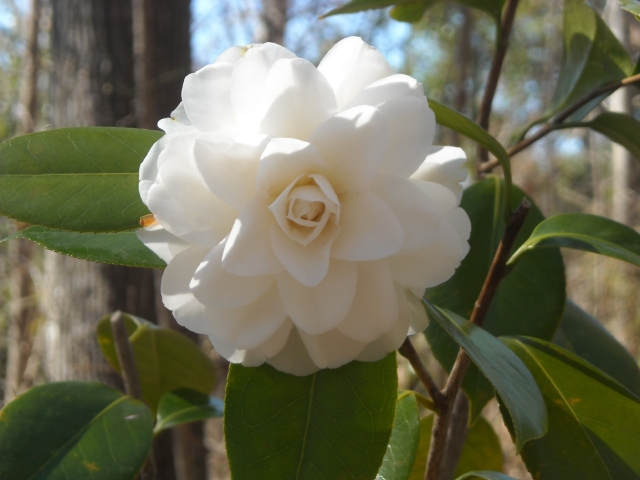
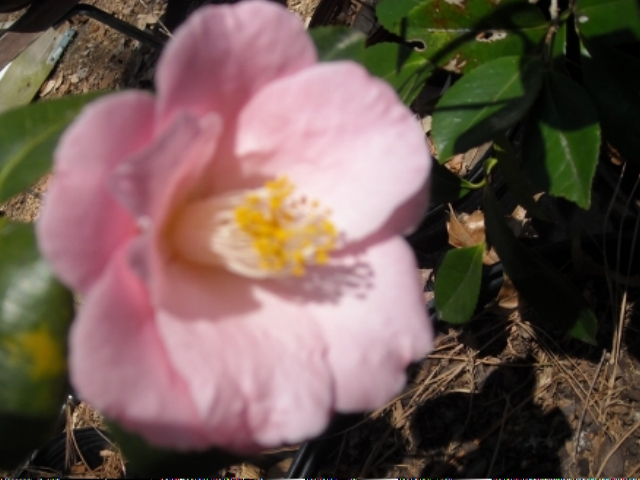
C. japonica ‘Seafoam’, an air layer from a plant in the garden of good friends
During mid-spring, after most camellias have finished blooming and energy is going into new growth, we choose a healthy branch that’s growing upright on a healthy plant.
Good health is key. You cannot purchase life insurance on a spindly, half-dead camellia by air layering a branch and expect a lovely new plant. It rarely works. We know. We’ve tried it.
Previously pruned branches and side branches do not usually make attractive air layers. Vertical branches are best. The branch should be at least the diameter of your pinky finger or greater and anywhere from a foot to about two and a half feet.
C. japonica Berenice Boddy is an heirloom variety, grows well in our garden and is easy to air layer
There are bound to be some failures, so we usually air layer three or four branches on a plant. We’ve noticed that air layers on branches in strong sun seem to be less successful than those in shade or part shade.
Gardener’s aside: This exercise of examining branches forces you to look closely at the plant from all angles. You begin to take note of its over-all health, the presence of insects, and the need for pruning. Air layering can be a good time to reduce the size of your plant or prune it to shape.
And, incidentally, this activity has contributed to our powers of observation as gardeners.
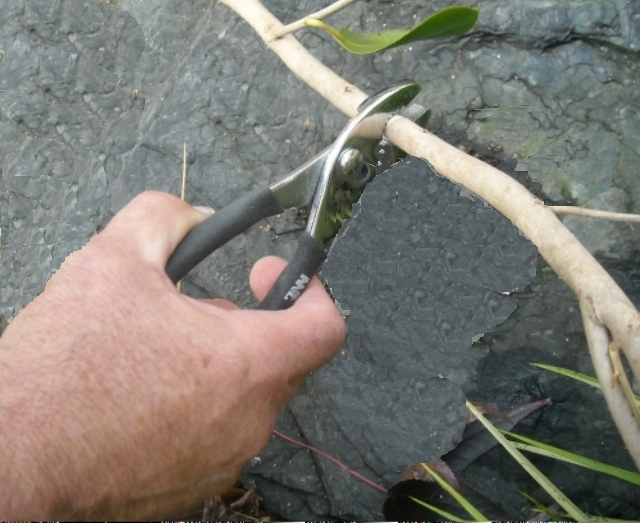
This is the simplest method of removing bark and cambium layers cleanly
To continue: Using an inexpensive pair of pliers with sharp teeth, we grip the branch and rotate the pliers around to scrape off about an inch or so of bark all around the branch.
Diligence in scraping is critical to promoting root growth. No green tissue should remain. If so, the air layer will not take. Only white wood should show in the scraped area. Do not become so enthusiastic about removing material that you lacerate or crush the branch.

The completed scraping, pliers still at the ready in case the wound requires more scraping
Instead of pliers, you can use a sharp knife to scrape away the bark, but this is more time-consuming and probably not as safe as scraping with pliers.
Prior to preparing the air layers, we soak long-strand sphagnum moss in water for a few hours, over night is fine, until it is fully saturated.
You can order long-strand sphagnum moss on line, but not in small quantities. Splitting purchases with like-minded friends can save money.
Alternatively, some people have had success purchasing small quantities of the sphagnum moss you can find in local nurseries.
We scoop up a generous handful of sphagnum and wring it out very well. No dripping, the drier the better. We wrap it around the wound and then wrap the bundle with a piece of 10 x 10 inch heavy-duty aluminum foil or, preferably green florists’ foil.
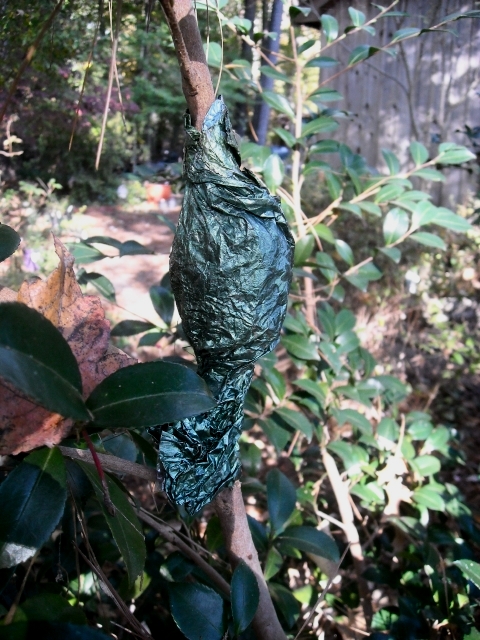
Completed air layer securely wrapped, tight at the top, slightly relaxed at the bottom
Florists’ foil is more durable than aluminum foil and its subtle color allows air layers to blend into surrounding foliage. I am not a fan of glitzy aluminum-foil garden art.
Double-wrapping aluminum foil will provide an extra barrier against pecking and poking by birds and animals curious about the shiny package. If using aluminum foil, check periodically for tampering.
Be sure the bundle is wrapped tightly at the top and left slightly loose at the bottom. This will prevent rain water from entering and allow any that does to drain away.
Air layering is more successful if the sphagnum remains only slightly moist. If it is too wet, little or no root growth will occur.
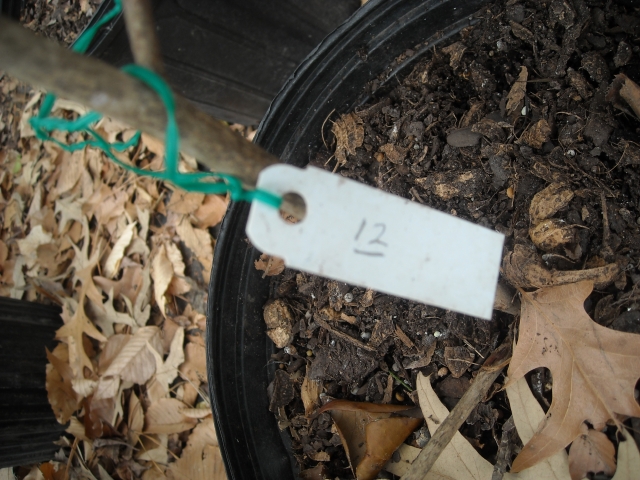
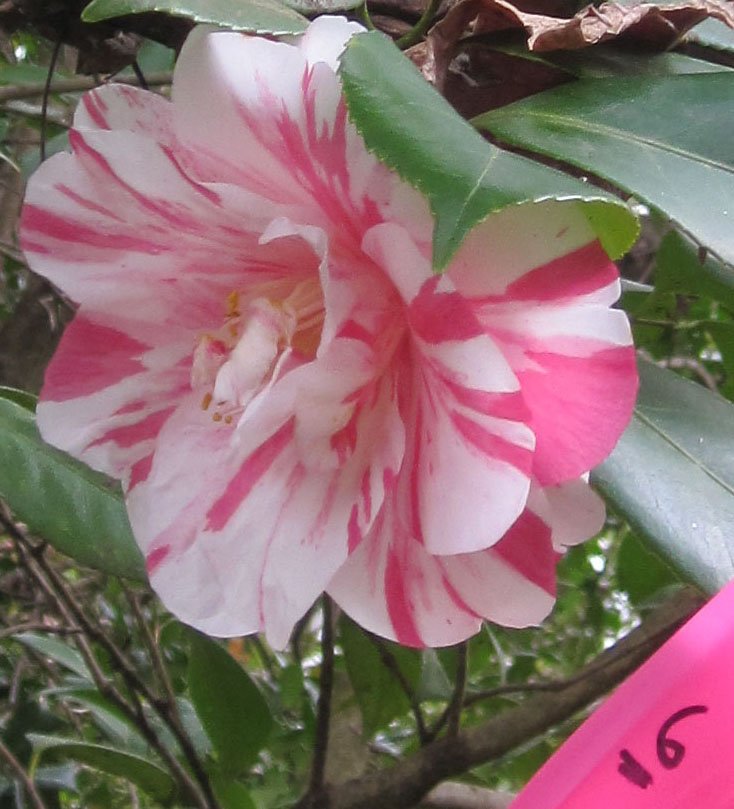
An unknown labeled with a number
To keep track of our air layers, we make a label by punching a hole in a plant tag or cut-down venetian blind slat and tie it to the air-layered branch above the bundle.
Some people affix the tie at the top of the foil bundle as added insurance to keeping rain out, but the tie will have to be removed during harvest and replaced directly onto the air-layered branch.
Prior to air layering the Atlanta camellias, our daughter photographed each plant when it bloomed and gave it a number. We then recorded our activities, sketchily, but the records proved invaluable
A Number 2 pencil to write names and dates on tags works best for durability and legibility. Even Sharpie markers fade. Plastic labels will usually last a few years before they disintegrate.
If you don’t know the name, make up one or use a numbering system. We handled so many unknown camellias in Atlanta we gave each species a number and recorded the number of air layers put on each plant.
Gardener’s Aside: If you’re preparing a few air layers on each of several plants, it’s a good idea to take one more step and record your activities in a diary of sorts. (It’s always a good idea to keep records, but that’s another story.)
Except for the Atlanta camellias, whose numbers were overwhelming, we never seemed to get to that record-keeping step. We trust to memory that can falter.When we use green florist’s foil, which is practically invisible among leaves and branches, we occasionally forget to harvest a new plant. Sometimes it matters; usually it does not.
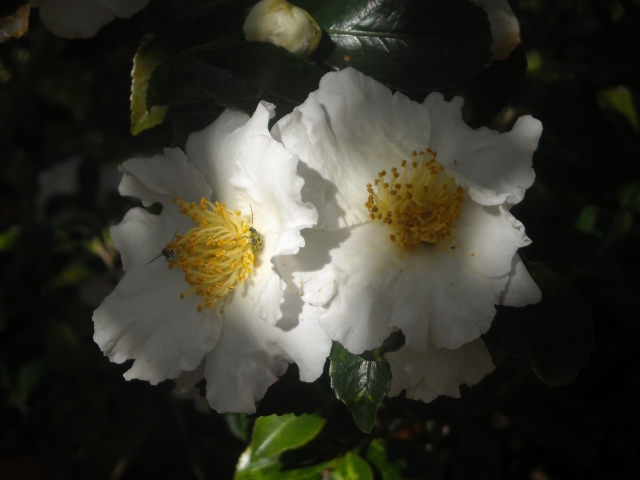
C. sasanqua ‘Setsugeka’ is an old surdy variety that propagates easily
Until fall, we ignore the air layers. They don’t need any watering or care. If we happen to remember them some time in August, we might check to be sure the package is still in tact and wrapped tightly.
This relaxed attitude is quite different from the days when we were anxious, novice camellia propagators.We would look for progress too soon, too often, tentatively peaking and then carefully setting the unwrapped bundle to rights.
Removing Air Layers
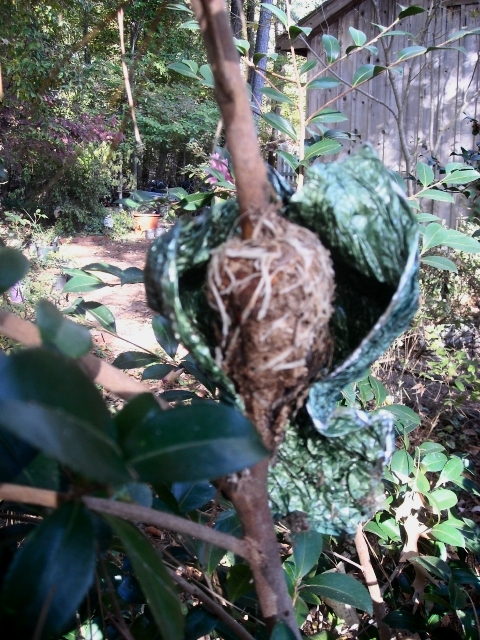
Brittle white roots in fall
Before we remove an air layer from the mother plant, we check for roots in September or October. We fold back the foil as neatly as possible.
If the branch has been slow to root, the bundle can be resealed and left on the plant, though once winter sets in and plants become dormant, little or no additional root growth will occur.
(We always have hope.)
A healthy air layer should have a bundle of strong white roots. Often the ball is so dry we are amazed that roots can be alive.
Yet it is these dry root balls that are often thickest with firm roots.
The Atlanta air layers cut and transported to our garden for potting
Sometimes there is only a callous, a hard swelling where the bark was removed, with perhaps a hint of white root growth.
We who are softies mark the tag with a question mark and go ahead and pot it up. Efficient growers would toss such a waif. Survival rates in these cases are low.
(But we always have hope.)
When we cut off the air layer, we cut close to the trunk of the mother plant. We prune so no stub is left that could invite disease to enter the plant.
This often leaves a long stem protruding from the bottom of the root ball. You can cut this off below the root ball if you wish.

C. sasanqua ‘Shoa no Saki,’ our first camellia, survivor of storms, propagated by cuttings and air layers
Some growers leave a short length of stem to help stabilize the plant in the pot. Others say this will promote rot. We have done both, and we can’t tell any difference in survival rates.
Once the foil is removed, we do not touch the sphagnum, as the white roots are easily broken.
We soak the air layers in a pail of water for at least half an hour and do minimal pruning to shape or remove unwanted branches.
We remove most of the flower buds that developed over the summer, too, an act of tough love. The plant put lots of energy into producing these buds, but their march to spring bloom would sap the young plant and slow its growth. (I try to leave at least one bud to bring a smile at bloom time and verify identity.)
Potting Air Layers
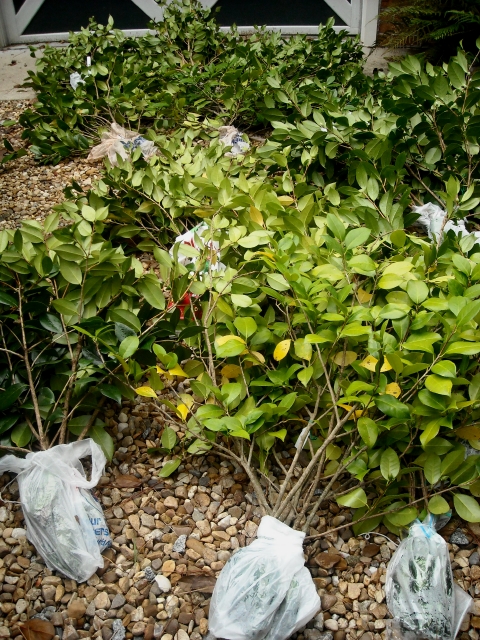
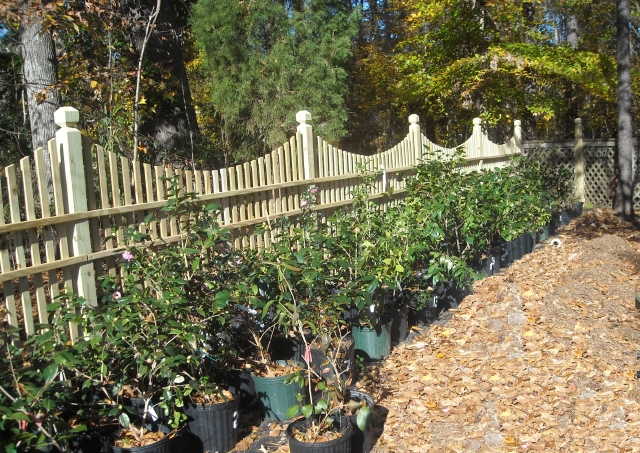
Atlanta air layers the following spring, spaced out to accomodate growth
New air layers are not likely to survive if they are planted directly in the ground. They should start their independent lives in pots.
To avoid the step of “potting up” from smaller to larger pots, we plant directly in three-gallon pots, using coarse potting soil, mostly composted ground pine bark that will retain some moisture but not enough to cause root rot.
We want to maintain a balance between water and air in the growing medium to let roots grow and “breathe.” If composted pine bark is not available, coarse perlite can be added to potting soil. Do not substitute pine-bark mulch unless you shred it. It is too dense and will not hold enough water.
New plants being heldin our potting area
Though mature camellias prefer acid soil, young plants grow best in soil with a balanced pH of about 6.5 to 7.
We are very careful when we handle the newly potted plants. Air layers are unstable in the pot and a fragile ball of roots can be easily damaged.
Good news, this condition does not last long. The roots of a healthy air layer, once settled, will race to the edge of the pot during the warm days of autumn.
C. sasanqua ‘Apple Blossom’ overlooks our potted plants in fall. Hoop house for stem propagation in background
Fertilizing with a slow release fertilizer, 14 14 14, about a tablespoon of granules to each pot, helps roots take off. Immediately after potting we water plants thoroughly, so they are dripping.
From this point on, watering is done as needed, a good drenching followed by a period of draining and drying.
Happily, watering schedules in cool fall weather are more relaxed than in the heat of summer.

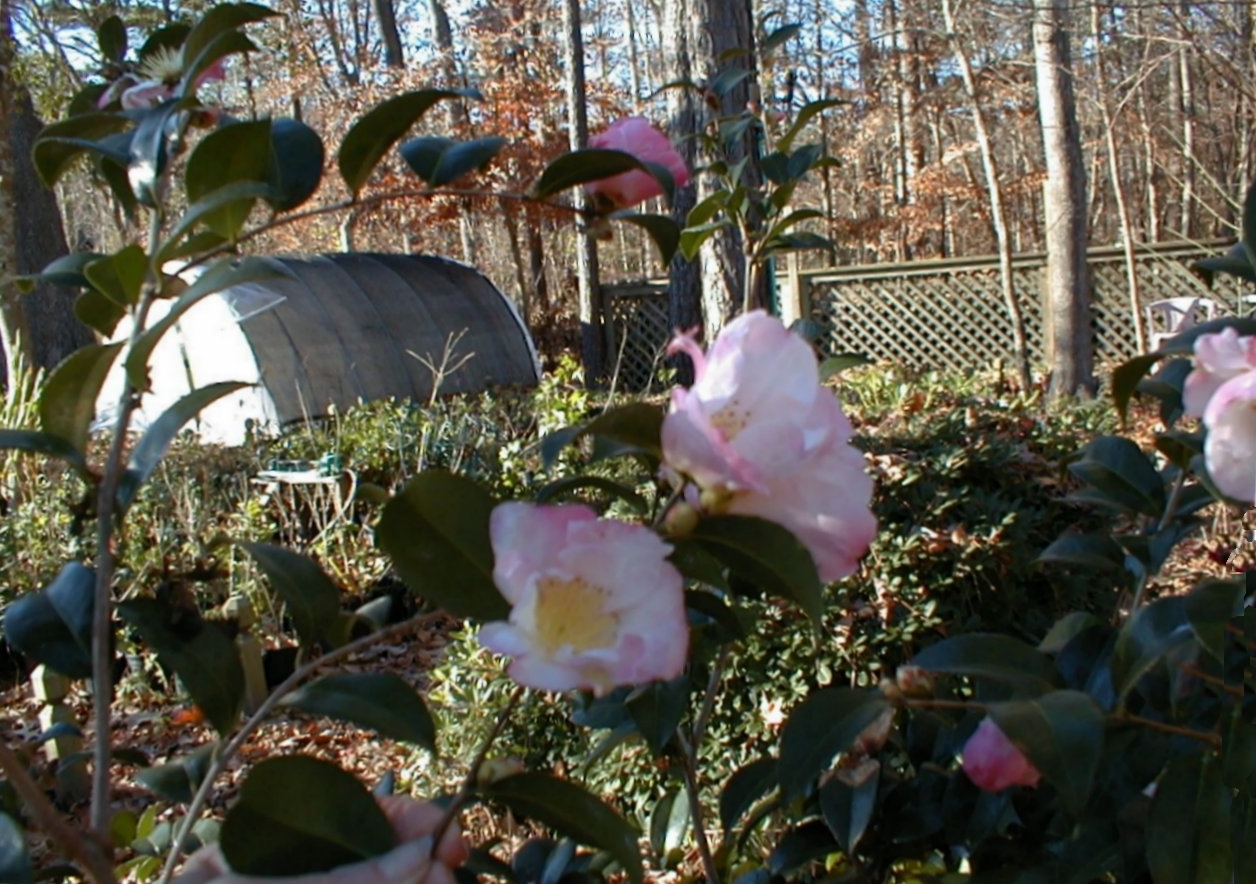
A lovely addition to our garden, probably C. japonica ‘Matothiana’ but still known to us, years after being planted, by its label number
An aged camellia is drought tolerant to the point of independence from the gardener. Young camellias don’t need to be fussed over either, but after all this work, we certainly do not ignore them.
We use the finger-poked-down-the-side-of-the-pot technique to judge moisture. If soil is cool and moist, we delay watering. If we are leaving town for a week we water well, confident that the plant will survive our absence.
Our winters are fairly mild, so new plants go to the lee of the garden, a fenced-in spot protected from intense sunshine and wind.
From here on, they weather the elements on their own with a gentle mulching by falling autumn leaves. Pots set out in dappled shade will grow roots on the sunny side of the pot.

Years ago, when we were novices, we planted this too-small, heavily blooming air layer in the ground without clipping its buds. Over-all growth was probably slowed by a year or two
In spring we check plants randomly for root growth by deftly overturning a few and instantly re-righting them. Roots have usually grown out to the sides of the pot but there is still loose soil.
We give them another dose of time-release 14-14-14, a tablespoon of granules in each pot, and hold them in a shady area during summer.
Some people choose to plant the youngsters directly in the ground, but we have summers that require a gardener’s vigilance.
If young plants stay in pots until fall they will not have to struggle with less-than-ideal soil and drainage or compete with the roots of mature plants.
Even after remaining in their pots for an entire year, they are still only toddlers with a long time ahead before they grow into handsome, high-stepping performers.
Camellias in our Garden Siting and Planting Camellias
Maintaining our Camellias Insects and Diseases of Camellias
Camellias Become Collateral Storm Damage Camellia Recovery and Care
Air Layering Camellias Wildlife and Camellias
Choosing Camellias Landscaping with Camellias Companions for Camellias

Great article with appropriate pictures.
Thanks
Glad you found the pix and article helpful.
I have a 20-year camellia and was looking for information on how to air layer it and stumbled upon your wonderful info with helpful pics, and gorgeous blooms! I also understand that this can be done on numerous plants, including various fruit trees like lemon; not sure about japanese maples? btw: I read once that camellia should be pruned “so a bird can fly thru it”, so I really pruned it this year. Ideally should have done it over @ least a couple years, but once I start pruning I always have trouble stopping. Amazingly, both my camellia and japanese maple have thus far survived, but it’s only been 2 months. Fingers crossed 🙂
I’m so glad you found some good information here. Sorry for the delay in answering but somehow your comment escaped me. Our daughter and son-in-law air layered japanese maples. They wanted to keep them low, so chose tall, upward growing branches. And they were successful, so go for it. And yes, it’s true about pruning camellias — first that it’s hard to stop once you start, and second, doing it “so a bird can fly through it.” Still, I can’t bear cutting that much away, except for limbing up. Thanks for sharing your thoughts.
Great article I like the plier idea. I have layered about 50 this summer from my late fathers heirloom plants. He had about 30 varieties of japonicas and won various awards at shows in the ’60’s. Katrina devastated the property, but has been cleaned and the surviving camellias are thriving.
High praise from you, Chris, so experienced in air layering! I’m glad you liked our article and enjoyed hearing about your father’s heirloom plants. They are hard to find in nurseries sometimes. Good luck with the newbies. I’m sorry to hear about the devastation from Katrina–we saw it in Mississippi and were so affected by what we saw that we tried to spread the word through our blog.
So happy to see this lovely tutorial!
I have a great Tea Camellia (C. sinensis) that’s over a decade old, and want to start some. I grow the variety from Sochi Russia, which is on the Black Sea, and the “most Northern tea,” very aromatic and frost Hardy. While the flowers are small (about the size of a strawberry flower) It’s leaves are about the size of my ornamental Camellia. The flowers can also be used for a light and fragrant tea.
A few years ago, my guiding Nikki invited me over for a Tea party, and taught me how to harvest and process my young leaves.
Thanks a lot for the amazing description, and side info. We are thinking about air-layering our R.L.Wheeler which got a hefty sunburn last year, recovered but now a stem is literally leaf-less. We’d like to air layer this as green is evolving quite vigorously on its end.
We are based in Dresden, Germany, where the temperatures are not as camellia suitable. However, we keep ours in pots on the balcony, even over the winter (most of the time, except for really cold nights when we bring them in).
I’m glad you found this piece helpful. RL Wheeler is so pretty!Two ways to look at air layering: If the stem is recovering strongly, it might do well as an air layer; on the other hand, previous stress might lead to a failure. Worth a try if the plant has some heft but suggest you wait until late spring when weather is good and the plant is rapidly growing. Is the rest of the plant in good shape now? Keep the plant in the shade; we find air layers in shady situations are more successful and the plant will be happier.The over-all health of the plant seems to be a key factor in success. Good luck. Please let me know how you fare. Thanks.
Many thanks for your specific tips. We’ll definitely wait till late spring after R.L.Wheeler is finished with blooming. Actually, she is doing pretty fine at a shady position on the balcony, only that we have just one bloom bud (on the stem that is the one preferred for air layering) this year.
We’ll keep you posted on the progress of the project. Currently, we are experimenting with seedlings (from last year). So it will be an extension of camellia experience.
Great article! We’re restoring Little Mount Vernon in Eutawville, SC, built in 1938 from Ladies Home Journal plans by a lady who loved camellias! Her granddaughter wants to air layer some this Spring so she can have a part of what her grandmother cherished. Here’s a link to my favorite variety… https://www.facebook.com/photo/?fbid=721751883471551&set=a.418900930423316
Come see us if you ever come our way! We’re 10 miles off I95 at the Santee exit.
What a lovely project! I am jealous, as I miss our camellias now that we are in New Hampshire. Good luck to the granddaughter with the air layering project. It’s almost that time of year. She should try to take some big ones. Thanks for the invite. We don’t travel much, but if we do get down there we’ll take you up. If you’d like to send some pix with a little more info, maybe we can do a post, sounds like there is a bit of history there. Best wishes.
Thank you for your wonderful article & sharing your experiences.
I’m glad you enjoyed it. We miss propagating plants since we moved to New Hampshire, but we are happy with the memories.